Monday 16 December 2013

Christmas Greetings

To all my blog readers

Happy Christmas
and a
Peaceful New Year


Saturday 30 November 2013

Christmas Decorations

So I got the melt pot out for the last time before Christmas - sadly the day job has taken over at the moment!! Obviously some of the things I have made are surprise presents so you won't be seeing those until after the Big Day but I have made a whole rainbow of stars for family and friends for their trees.

I used a large star mould that I bought from Jewellery Maker TV which is just thick enough for a good pour but not so thick that it takes ages to cool and harden

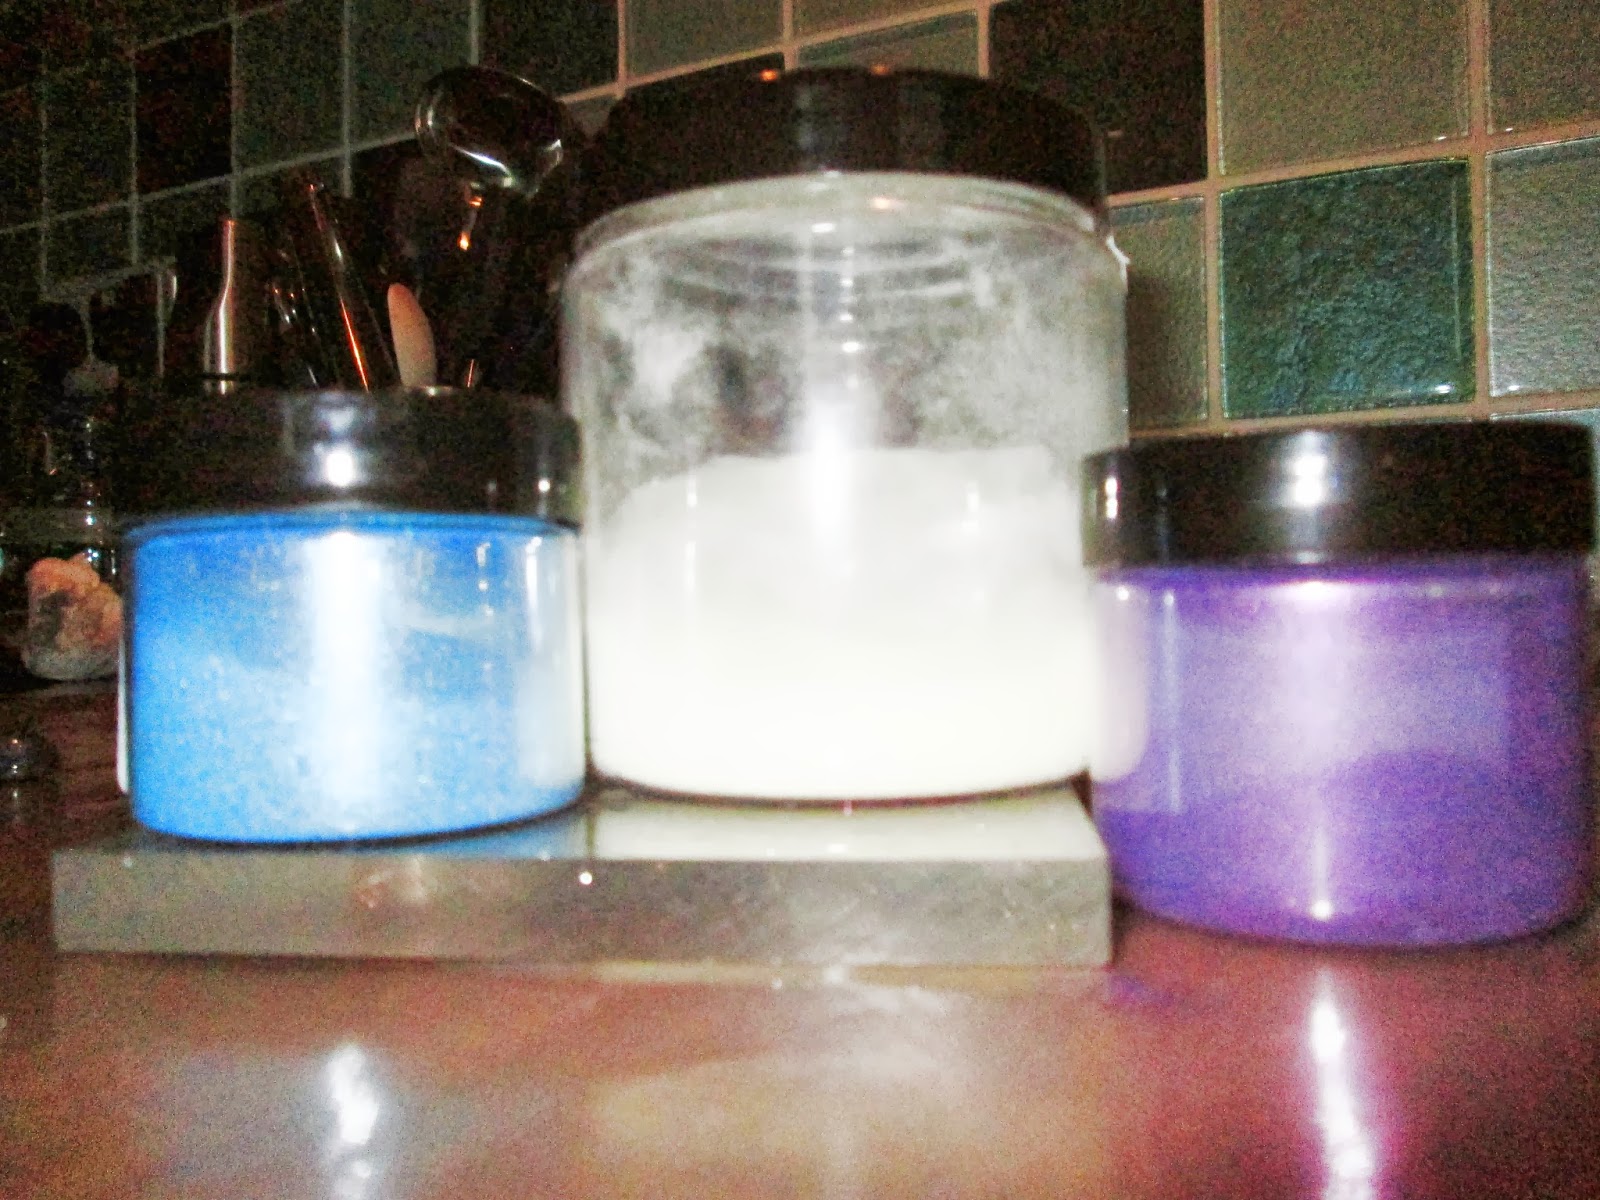
 First I mixed a small amount of white with clear UTEE and a tiny pinch of  blue mica powder and poured a star, you really do only need a small amount of the white - it goes a very long way. Then I added a little more mica and some aquamarine to pour a marbled second star. After that I gradually added more and  more aquamarine topping up with clear when necessary and poured a colour gradation of stars that will match my wreath and colour scheme


After cleaning out the melt pot I used Cosmic Shimmer Light Gold  with a small amount of clear which gave a sumptuous colour and poured a complete set of stars in all the same colour I loved it so much


 Another clean out of the melt pot and this time I used clear UTEE with some Cosmic Shimmer ink to give this glorious green. I poured a few stars in green and then began to add a second green ink which is much more of a teal and created a colour gradation through to almost turquoise
 these stars have a rich gem like quality and look amazing with light shining through


Then I melted some left over transparent ruby  to make just a few glowing red stars


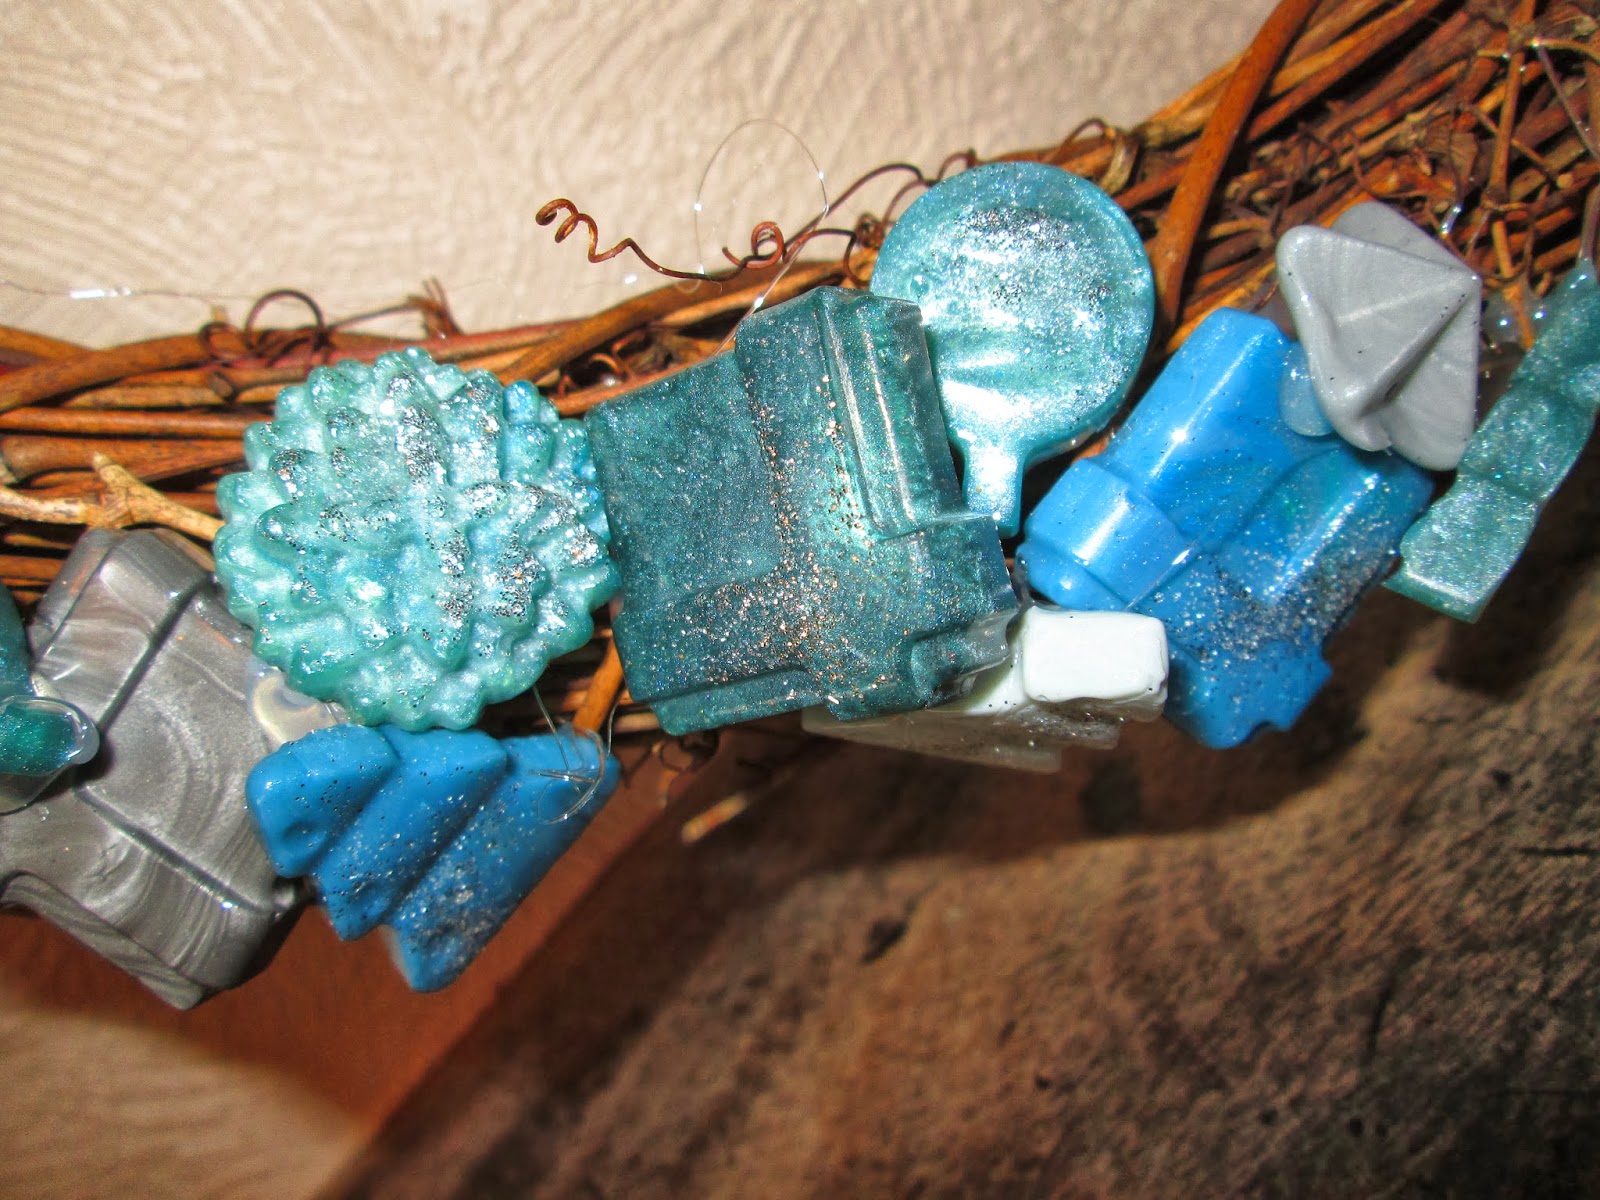
I had already experimented with the star idea when I made my small Christmas wreath for my daughter. There will be a picture of that in a later blog!  Her colour scheme is purple, red and gold so I added some glitter and gold embossing texture to her stars


 I liked the embossed effect so dug out my stamps and detail embossing powder to add some texture to my first set.


Here is a close up so that you can see the finished product


Finally I gathered all my efforts together for a curtain call
A rainbow of stars for Christmas


All that was needed was to melt holes in each one with a variable temperature soldering iron on 160 degrees and thread with shimmery cord ready to hang on the tree


Friday 29 November 2013

Christmas present exchange

One of the Facebook groups that I belong to decided to have a Secret Santa gift exchange where we would all make for each other.
I have been extremely lucky to be the recipient of a wonderful piece by a very talented wireworker Rachel Norris. This is the piece she has made for me - he is a cute 5cm tall copper pusscat brooch with twinkly eyes and pert whiskers. I am thrilled with him


 I made this fully loaded charm bracelet for my friend Tina who loves jangly things and dragonflies.
I used gunmetal findings and chain


The purple/blue beads are handmade from UTEE jewel enamel with mother of pearl rounds, faceted shell pearls and dragonfly charms.

To create the colour for the beads I used two colours blue sapphire and amethyst purple and clear, gently mixed and swirled to give a tanzanite blue

the beads are made using a headpin and adding layers of UTEE in what is called a Leandra bead


I then rolled down the headpin to create charms which I added to the bracelet.

I also made a focal bead for a pendant and some simple earrings - although by this time the colour had gone quite dark and looked more like Iolite


I decided to make the focal bead into a charm necklace


I'm happy with the results and very pleased that Tina really loves it.


a close up of the bracelet


Wednesday 30 October 2013

Large Wreath

I have so enjoyed making and using my little Autumn wreath that I decided to create a larger one for the Christmas season.
I bought a large vine ring from Hobbycraft and a couple of chocolate moulds with a Christmas theme.


The colour scheme of my decorations is smoky blue and silver leaning towards a turquoise in the dining room.
I used both of my Ranger melt pots - one with a light silver and the other with a mix of aquamarine and sapphire blue.


I added small amounts of mica powder in silver and blue to create the variations in colour.
The multiple chocolate moulds meant I could pour quite a few in one go. I added a fine silver craft glitter to the moulds before pouring for that added bling!
The large Christmas trees are from a themed  mould bought from Jewellery Maker TV


The final touch is a three coloured bow.


here is a close up of the different pieces


I'm quite pleased with the result

Sunday 6 October 2013

Autumn Decorations

Last weekend I went to Cardiff for a jewellery maker meet with a group of Facebook friends. We had a super time exchanging ideas, buying and selling our pieces and learning new skills. I led a session sharing  UTEE jewel enamel using the melt pot.
Being with so many wonderfully creative people gave a real boost to my mojo and I couldn't wait to get creating.

On the drive back we came along the Shropshire border lands which at this time of year are full of autumn colour so my latest make is a small wreath of leaves and flowers in autumn colours.


Each piece was poured individually from a melt of clear with added red which I then graded through by adding yellow with some gold mica powder and then eventually green.
I cleaned out the melt pot and started with a lovely orange which I added copper to and then a deep brown.
After arranging I glued each piece to the wreath and used a very small amount of gold and zesty orange mica powder  gently rubbed over to highlight the details of the mould.


The actual mould is a  composit of poinsettia flowers and a variety of leaves so really meant for Christmas but in these colours it works well.

The wreath is about 8 inches diameter so quite small and just about suitable for a fireplace mantelpiece or to put a church candle in.


Friday 16 August 2013

Chain! Chain! Chain!

We have been having our bathroom and toilet re-done this past 2 weeks so I have been attached to the house!!  Having builders in with all that entails can be very stressful and even though our guys have been great I have missed my personal space.

So what better to offer escape than having to concentrate on chain maille.
I really enjoy wearing maille bracelets especially if they are made from aluminium jump rings which are so light that you can create quite chunky looking pieces that weigh almost nothing.
My first piece is a byzantine weave using gold and silver tone with a touch of bright purple. It is so cheerful and catches the sunshine so well. I love wearing this one, it has a summery feel and will make super holiday jewellery.


For the second one I made my own jump rings from a lovely green wire and a copper wire. I didn't have exactly the same gauge in copper as the green so I doubled up the rings which has made quite  feature.
This is inverted round weave and the rings are 5mm ID which is a good size to work with.


The final piece is again byzantine weave in a much smaller diameter jump ring in rich copper and was quite tricky to manipulate but has resulted in a very delicate bracelet which is a rich colour.


Just so you know the bathroom is now complete - well, I have to paint the new plasterwork next week once it is all dried out and the woodwork will need a coat of white. The new shower is amazing and after having no doors on the loo, the privacy is wonderful!!

Wednesday 7 August 2013

Getting all Posh

I occasionally enter one of my pieces to the Jewellery Maker TV Wall of Fame where over the course of the week about 50 or so pieces are chosen to be shown on the show. Every entrant is entered into a weekly draw and about 2 months ago I won £100 to spend.

It's really hard when you have money burning a hole in your pocket to know what to choose. Finally I decided to buy some of their more expensive strands - they call them Gems of Distinction. I really enjoy making jewellery but I don't do wirewraping, silver smithing or fine gem setting so tend to buy jasper, agate, quartz etc rather than the more precious gems.

However with these winning I invested in a few better quality strands especially as I have some birthdays coming up.

My business partner Helen is 50 this month and adores emeralds. I couldn't afford - nor did I trust myself with - a good strand of emeralds but when I saw these gorgeous green quartz rondelles so beautifully faceted and such an amazing colour - in fact the colour of emeralds - I couldn't resist.

Helen needs dainty jewellery - she is only a tiny person. She also likes little drop earrings with a bit of movement. So I created some earrings and a dangle necklace. It isn't a long pendant it is quite high up, again her preference but looks very pretty.


I also found these beautiful sky blue topaz graduated, faceted drops which are such a delicate colour. I have really only sorted and re-strung them with tiny silver seed beads in between to separate the drops so that each one is displayed to the best.


they look amazing close up


Friday 2 August 2013

More Summer Brights

In my last post I was wondering if there was scope to create a matching necklace to the juicy charm bracelet. 
Often when I am pouring I try to recreate a certain colour or mixture and get frustrated because I just can't quite get it right.
This time because I had used pretty much unmixed colours apart from a tiny bit of clear to make everything a little less dense in colour and a touch of mica powder to add a shimmer I was able to reproduce virtually the same colours.

So I poured just a couple of the periwinkle flower and three large leaves, then I realised that the mould had a tiny leaf which I thought would really balance a necklace.


I did think was going to be hard to pour without spilling everywhere because it was so small - UTEE is not the easiest medium to control but apart from one reject I was able to pour quite a few tiny leaves to complete the set.


I then had a rummage in my stash for some purple toning beads and found some lovely blackberry coloured faceted glass in a deeper purple. Perfect!

I added a matching silver toned chain and here it is......


a close up shows the detail


here are the two pieces together


Tuesday 30 July 2013

Summer Brights

After all the hot weather at last a cooler afternoon so that I have been able to get the melt pot out for a spot of jewel enamel UTEE creating
I wanted to make a really bright bracelet to go with a summer maxi dress that has so many colours but with a strong purple and lovely green.
UTEE is great for summer jewellery because it is so lightweight. It is great to take on holiday especially in a hot climate.
So here it is....

I used Crafty Notions Jewel Enamel (UTEE) in amethyst and peridot
The mould is from a Martha Stewart woodlands set.
I have also used a turquoise mica powder to highlight the texture features on the flowers and a light gold mica powder for the leaves


in this close up you can see the delicate detail of the flower mould


am now wondering if a simple charm cluster necklace might look good with it

Monday 24 June 2013

Summer Fun

I have been playing with alternatives to gemstones for a while now and have discovered another fun medium to try. Air dry paper clay!
This moulding clay can be used in push moulds or to make beads and embellishments for cards etc. It is unbelievably lightweight and although not as easy to work with as polymer clay because it dries out quickly, if you keep it in a sealed bag with a damp paper towel it will be fine.
There are only a few colours - white, brown, yellow, red and blue but from these you can make a whole range of colours - in fact that is where the fun starts - mixing your own colours. There is no mess, your hands don't get stained, it's like play dough for grown ups!
I chose to make beads which probably was not the simple  task I had assumed but was very satisfiying.
I created a range of pastel colours which I then rolled into beads and made holes though them. I left them overnight to dry and by morning they were quite firm but not hard - they had a gentle squish to them. I wasn't sure whether this was what I should have so left them another day but indeed the gentle very slightly soft finish was  right. I decided to give them a satin glaze which has sealed the surface. Then I strung them onto beading thread with silver toned spacers. The result is an ultra light fun necklace for summer.
close up of the paper clay beads

the finished necklace