Friday 12 December 2014

Christmas Goodies

One of my Facebook groups loves doing gift exchanges and of course we couldn't ignore Christmas.
This time I was to make for  Bev who made me that stunning seed bead trinket box and earrings that I shared with you a few months ago.
I was really pleased to get her because I would be able to say a real thank you through my gift BUT Bev is a stunningly talented lady and does so many crafts that at first I was a bit stumped what to create.
The group is basically a jewellery making one but lots of us do other crafts and so the gift exchange has grown from being just jewellery to all hand made goodies which is brilliant because you often get something in a craft or medium you have not tried at all.

I decided to knit something for Bev and originally was going to make her a pair of my snuggle socks but on a trip to the NEC to the Hobbycrafts show in November I came across some stunning yarn and knew that I wanted to make her an infinity scarf.
The jewel like colours in the yarn glow and the piece grows quickly as it is made on HUGE needles ( size 10mm).  Once finished the two ends are sewn together with a mobius twist ( hence  infinity ) so you can wear it like a piece of jewellery or as a scarf. It is incredibly lightweight and yet warm. I had enough yarn to make one for myself - bonus!


I have just acquired some seasonal moulds for soap so using bright jewel colours I have poured a whole set of snowflake and bauble soaps - some of which went to Bev.


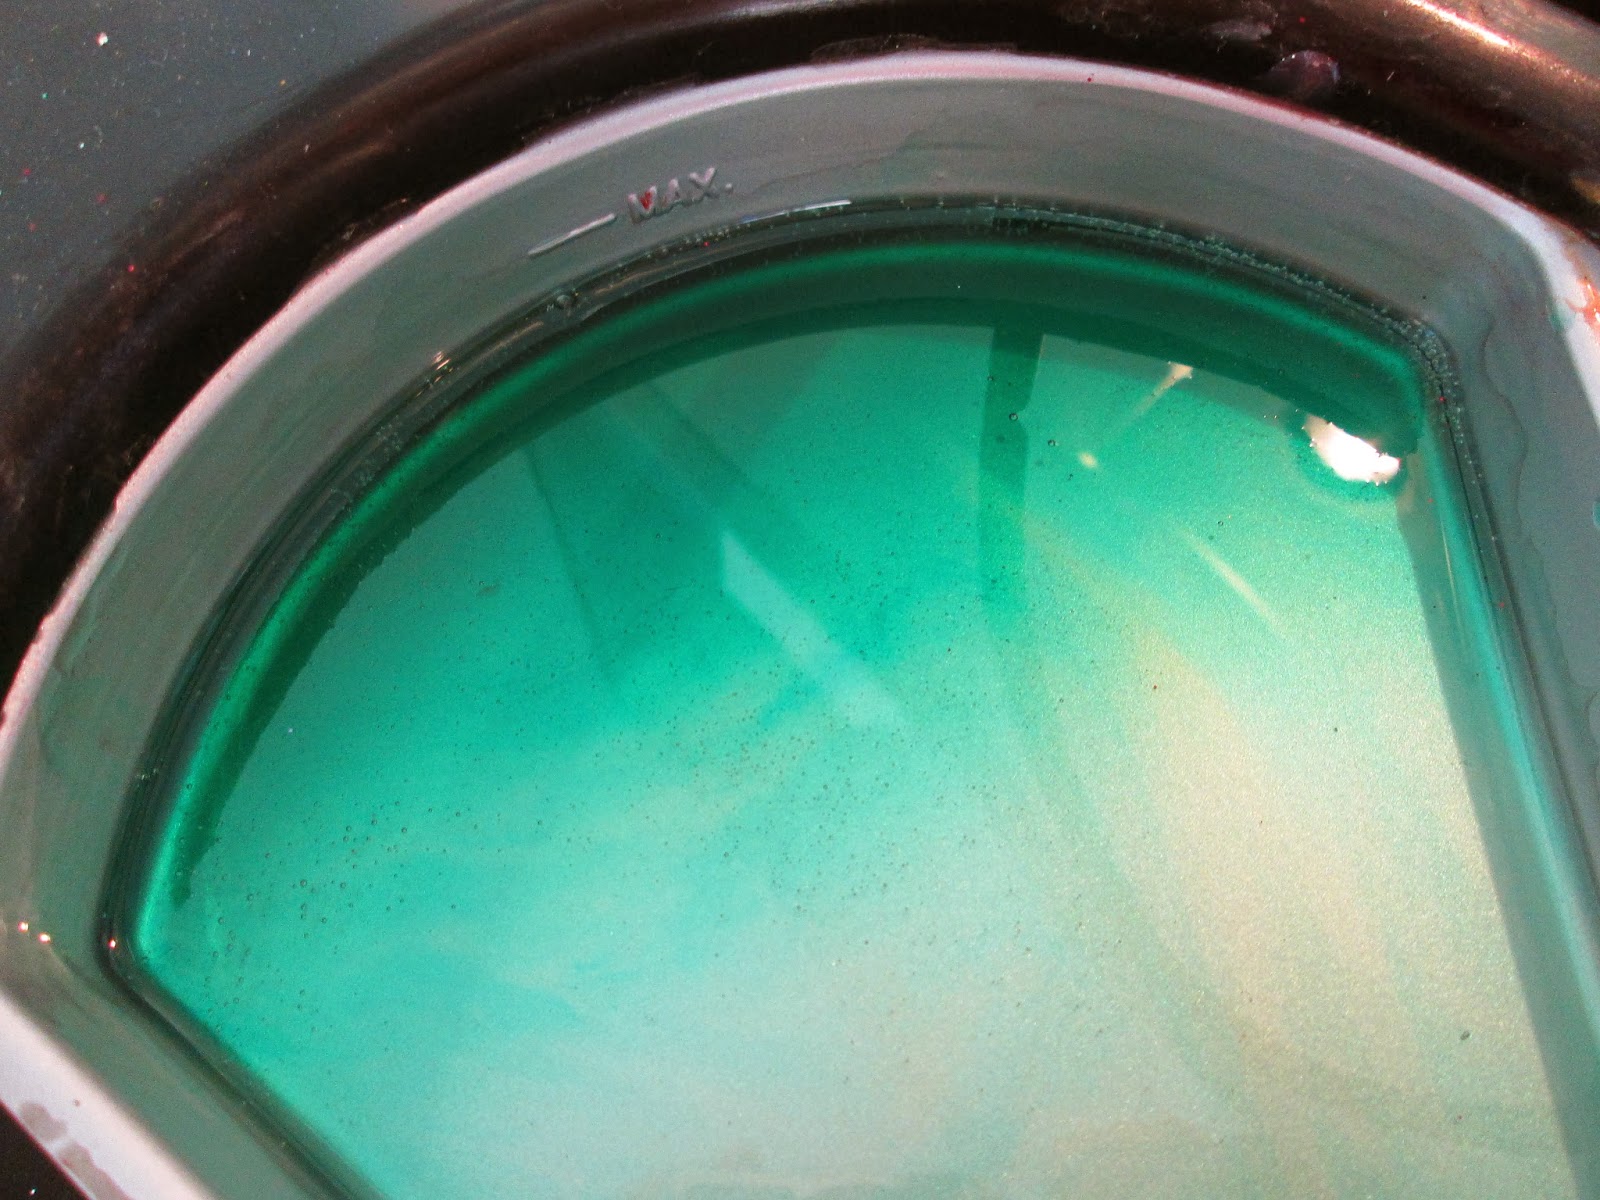
I also wanted to make Bev something in jewel enamel because she doesn't use this medium. However I thought with it being Christmas I would make her some stars and baubles as Christmas decorations. I had made some for family last year and they were so well received that I thought it would be something a little different.

I decided to use traditional seasonal colours - green, gold, red and deep blue in transparent finishing with embedded glitter. Once cold I used a solderng iron to melt a good sized hole and threaded with gold satin cord


I added a hand  made card as a final touch
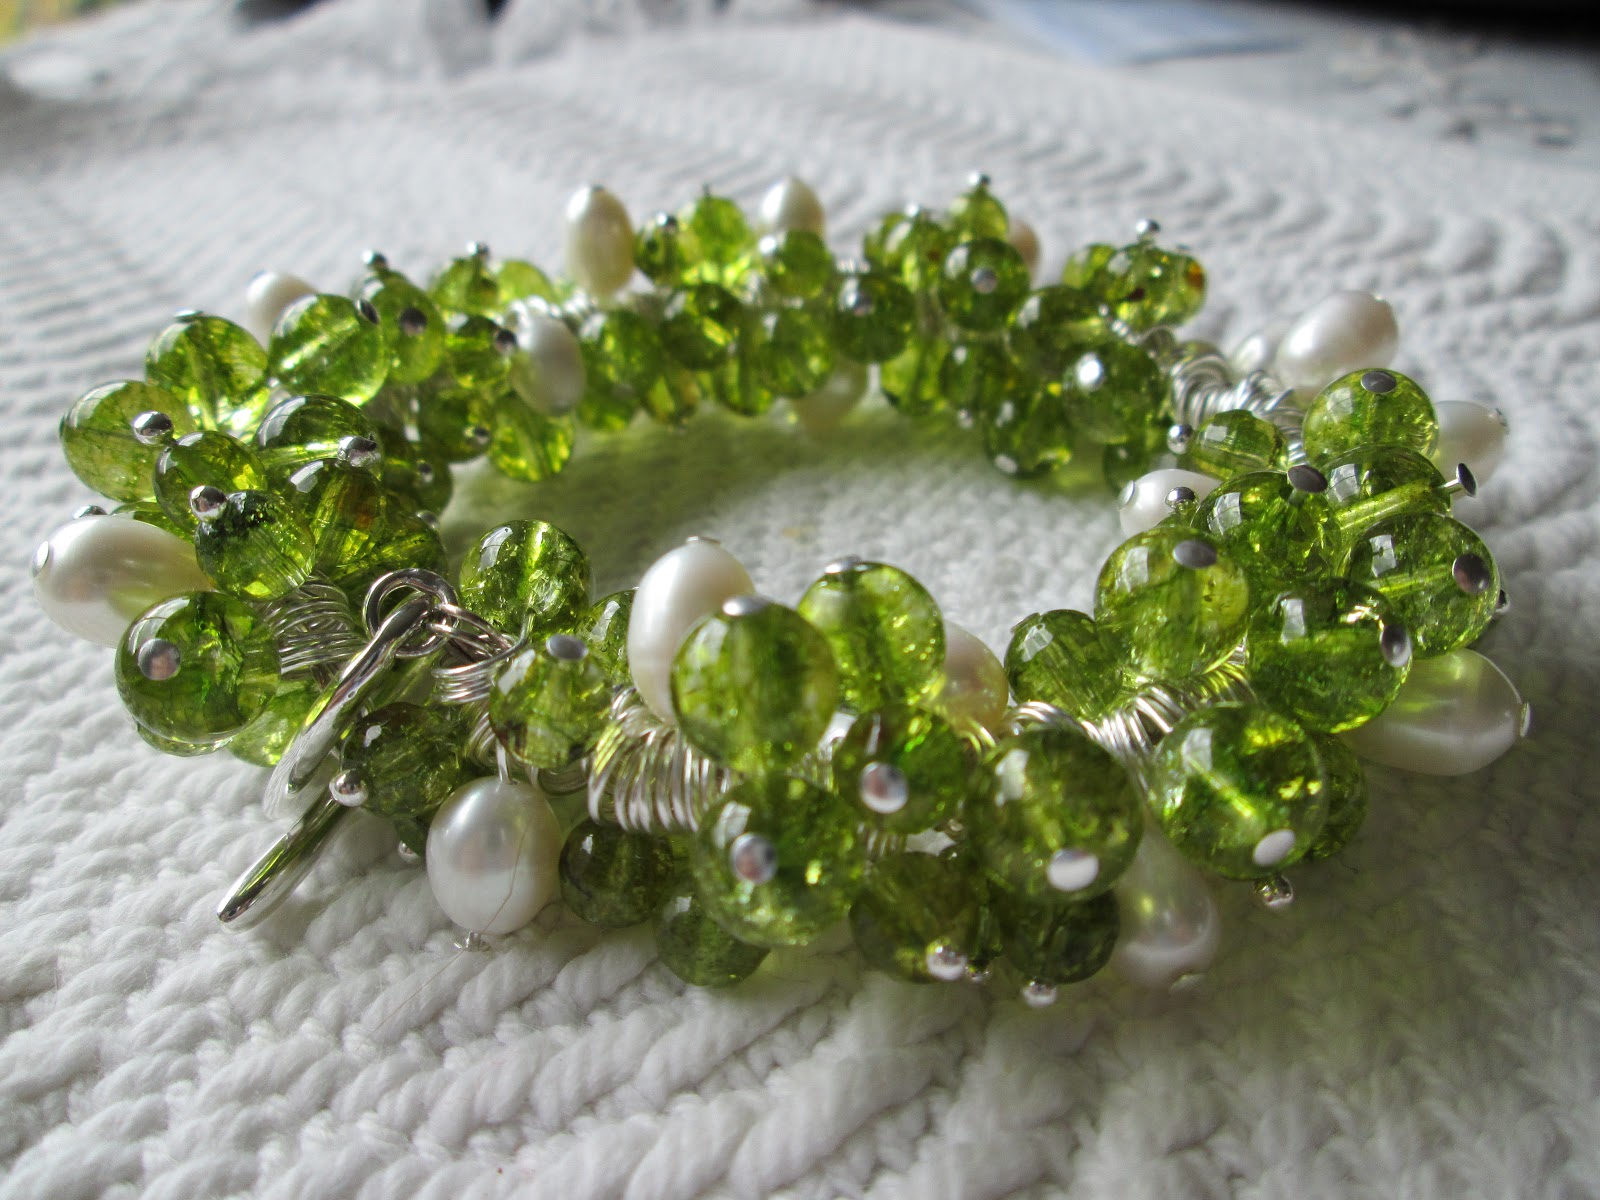
Bev took this picture of her pressies


I hope she enjoys her presents from me.


Tuesday 4 November 2014

Exploring Resin

I recently went on a workshop day to learn about using resin in jewellery making.
The lovely designer Fiona Potter led the session, giving us an introduction to the possibilities by sharing some of her wonderful makes.
You can find her work here:
https://www.facebook.com/Fionapotterguestdesigner

We started by weighing and mixing clear resin and hardener to pour into a mould and throughout the day we added layers to this basic mould starting with inclusions - I used some jump rings.
This would not be ready until the next day so when I finally turned it out it was a surprise to see what I had created. The bottom most layer ( which becomes the top layer when turned out ) was clear. Then another clear layer with jump rings. The third layer has multi coloured glitter, the fourth is very dark blue.
my finished piece


We used a bezel with a simple wire worked shape to create compartments then coloured clear resin with a variety of things. I chose to use a deep blue glitter for one section, alcohol ink for a second and some crushed chrome diopside (gem art ) for the third.
We created the wire shape and gently hammered it to give a flat base which would act as a seal. The wire had to fit very tightly otherwise the resin would bleed between sections.  We weighed out resin and hardener, mixed it for 2 minutes and let it stand to settle out the bubbles.
We then put a small amount into the bezel where the wire would sit to "glue" it in place
 I carefully sprinkled the diopsode into a section and then  I used a cocktail stick to carefully add very small amounts of resin to my bezel. Finally I mixed in some glitter into the resin I had left and added it to the bezel.
I am very pleased with this piece


We also used wire to create free form shapes which we gently hammered to give a flat back. Then we firmly stuck this shape onto sticky backed plastic to prevent seepage and added the resin. I chose to use an orange mica powder added to one and blue glitter to the other. I got better at manipulating the wire with the second one!

work in progress - still stuck onto the plastic

work in progress - still stuck onto the plastic

All our pieces were just about touch set before we left so we were able to take everything home. The next day I added a final doming layer to finish of my pieces.
after a final layer of doming resin


the finished piece


Saturday 27 September 2014

Definately Different Donuts!

A while ago I watched Debbie Bulford, guest designer for Jewellery Maker TV, use jewel enamel to add subtle colour to polymer clay.
I am not a user of polymer clay but I thought the technique definitely deserved trying out so I bought some translucent clay to have a go.

The clay has to be conditioned which means working it until it become really pliable and smooth. This took quite a bit longer than I was expecting but after a  little bit of work I had a thin smooth piece.
Then I sprinkled some jewel enamel onto the surface and worked it in adding extra in small amounts until I had a pale even colour. It was a bit like trying to work sugar into dense pastry, bits kept falling out but I presevered and eventually had an even coloured piece.
I started with a turquoise mix using aquamarine and apatite jewel enamel

once the jewel enamel granules were worked right through the polymer clay I divided it up and made small balls which I flattened and then using a straw cut a hole in the middle to create a donut

I then made some deep blue using Lapis Blue jewel enamel


and finally I made a subtle green using Apatite


I put all the donuts on a piece of baking paper and popped them into the oven at 120C for 15 minutes
At the end of this time I saw that the jewel enamel had not actually melted so I turned the oven up to 140C and returned the clay for another 5 minutes but watched carefully - I didn't want to burn the clay.
This time the jewel enamel had melted and the colour of the clay had darkened considerably.

The clay had a matte finish and looked a little like sea glass. However I decided to let it cool and apply a glaze which really brought out the colours


I have some suede cord and silver tribal spacer beads so I think I will make a necklace. Watch this space for the finished piece!!


Tuesday 16 September 2014

A little Surprise

Some of you may remember that one of the Facebook groups I am in does a gift exchange occasionally.
The Autumn exchange was set over the summer and I was very lucky to be drawn to get a gift from the supremely talented Bev who does a wide range of jewellery skills but is stunning at beading. How she uses such tiny beads is beyond me.
One morning the postman brought a small box.......soooooooo exciting
And this is what was inside


this stunning small box all made from tiny seed beads with a little lid that I gently opened to find a pair of the most incredible earrings
The detail is stunning, the workmanship quite amazing - even these photos also taken by Bev are superb

I have made for the lovely Stacey who told me she wasn't into hearts and flowers and fussy; she loved lots of colours but blues, teal and turquoises were her favourites.
So I decided to go right back to my jewel enamel roots and create a colour gradation from light turquoise through to deep teal. 


yes you can see some hearts....after reading her message again I made a few more roundels and have kept the hearts for another project


I used these tiny roundels for charms which I added to a chain along with a quirky selection of metal charms.


a close up of the charms


I also poured some large hemispheres to make a pendant for a necklace


I poured  two sets so that I had a choice and then decided I quite liked a mixture


All the gifts are being photographed and uploaded to our group website mid September

This is such a lovely thing to do because we all have different talents and use such a variety of media

I expect we will do it again for Christmas


Tuesday 19 August 2014

My Favourite Things

hand made beads


A few weeks ago Jewellery Maker TV asked me to write a blog post about some of my favourite things in jewellery making so here goes!

I LOVE making charm bracelets!
There is just something about wearing a bracelet that jingles and moves on your wrist with a satisfying weight. I have been making jewellery for over three years now and I think I have made more charm bracelets than anything else.

amethyst drops


I really enjoy choosing the gems, the colours and sizes that will go together and I usually try to find a range of different metal charms to add or even make my own with either jewel enamel or polymer clay.

Choosing the right chain is important  because you need a good sized link to enable you to put add the charms and to help you space them out to give a balanced look.
faceted shell pearls, shell discs and hand made jewel enamel beads


I have tried a variety of techniques but I think the one I use most often is to use a head pin and then roll it down  and either attach it straight onto the chain or use a jump ring to give a little extra movement. You do need quite a few headpins and I think these with the heart end from Jewellery Maker TV would really add that special touch


I love this little kit which gives you all you need to get going with a chain, S clasp and some little charms and if you add a few of your favourite gems you'll have a great result.


For those who like to embellish their charms I like these silver flash brushed flat charms because you can leave some as they are, stamp some and add detail embossing powder or use alcohol inks in a random pattern to add a bit of colour. That way you would get a range of colour and texture but using all the same charms

There is a bit of a craze for having charms that the wearer can re-arrange themselves. I have a pretty summertime one with enamelled beach themed charms and they are all on little lobster clasps. You could easily do this yourself or if you prefer you can add real gemstone ready made charms like this faceted amethyst 


Here is one of my favourite charm bracelets made using some beautiful peridot rounds with little freshwater pearls. This little beauty went to a good home for someone with an August birthday!


I like to add one finishing touch by popping a "made with love"  or "handmade for you" charm usually on the extender chain or near the clasp

Every charm bracelet is different - they can be very personal like this cherry lips made for someone who loves "vamping it up"
                                          OR  a bit of fun like this bumble bee bracelet


OR to match an outfit like this shell pearl coffee and cream

BUT the wholepoint of a charm bracelet is that they feel great to wear!


New Venture

Well this is a bit of a momentous day........


Last week Jewellery Maker TV aired the last of their shows to feature jewel enamel which as my readers will know is my favourite medium to create with. It isn't their fault....Ranger, who make the melt pot,  have had to cease selling it because of an issue with the manufacturer and as the melt pot is really the essential tool for using jewel enamel this makes it hard to feature on a show because new viewers would be wanting to buy the pot.

Making jewellery this way is a slightly niche craft with many of us feeling our way in our designs and learning new techniques often by accident. So we need to gather together in some way which is why a few months ago I created a Facebook group for fellow crafters to share ideas, tips and inspiration and last week I realised  that we should make sure all our collective knowledge isn't lost.

I started gathering images into subject albums on our Facebook pages and that's when I saw that we needed more than just a few pictures with a brief description we needed proper tutorials with creative diary images.


In this modern age I think the best way to do that is to use a blog - so I have launched a team blog with a small group of admins and we will invite guest authors to share.
I love the fact that the blogging world is mostly public because this means anyone with a passing interest can drop in a have a browse.
There are some extremely talented people on the site so it is very exciting wondering what they will come up with.


I have quickly earned that I need to make sure I photograph everything during the making stage as well as the finished product because that is what people need to see....photo tutorials and diaries.


So for any of  my readers who would like to pop over, here is the link
www.jewelenamelgems.blogspot.co.uk

I will still be writing this blog and postimg more of my adventures in creativity and hopefully there will be more advances in skills as I learn from my fellow bloggers


Friday 1 August 2014

Strawberries and Cream - a Summer Project

Strawberries and Cream - a summer project


As part of a summer challenge for a Facebook jewellery making group I decided to create a fully loaded bracelet and charm pendant representing summer strawberries.
I have two lovely strawberry moulds and numerous leaf moulds which work well and I wanted to create hand made dipped beads in a clotted cream colour.
a home made mould

this is a Martha Stewart mould


To create the berry colour I used  Diamond Clear with two reds - Cosmic Shimmer's Berry Red and Crafty Notions Ruby Red


because it was quite time consuming to create a batch of charms I needed to keep turning down the heat to stop the mix going too orange
the small mould poured 

finished small berries
    I also poured the large strawberry


the finished strawberries
Next I created the leaves using Crafty Notions Peridot and Diamond Clear
Martha Stewart moulds
completed leaves


To make the beads I colour mixed a clotted cream colour using Diamond Clear with a small amount of Ranger's UTEE white and a sprinkle of Cosmic Shimmer's Light Gold


colour mix for beads

I played around with this until I got a slightly lighter colour than I needed - knowing it would darken with the heat


To make hand dipped beads you need a head or eye pin and then dip the finding in repeatedly, building up layers. You need to gently rotate the pin to make a round shape although the slightly imperfect ones have an organic feel. To make sure the colour is consistent I dipped each pin in turn with each layer building rather than making  a complete bead each time. 


just dipping the end of the eye pin into the mix


swirling gently to get a good shape


third dip


all lined up ready for the final dip

completed beads


the completed bracelet elements
the finished pendant elements

Finally I assembled the charm bracelet and created the charm pendant 

a close up of the bracelet


I think this has a real feel of those long summer days!