Showing posts with label Jewellery maker TV. Show all posts

Saturday, 27 September 2014

Definately Different Donuts!

A while ago I watched Debbie Bulford, guest designer for Jewellery Maker TV, use jewel enamel to add subtle colour to polymer clay.
I am not a user of polymer clay but I thought the technique definitely deserved trying out so I bought some translucent clay to have a go.

The clay has to be conditioned which means working it until it become really pliable and smooth. This took quite a bit longer than I was expecting but after a  little bit of work I had a thin smooth piece.
Then I sprinkled some jewel enamel onto the surface and worked it in adding extra in small amounts until I had a pale even colour. It was a bit like trying to work sugar into dense pastry, bits kept falling out but I presevered and eventually had an even coloured piece.
I started with a turquoise mix using aquamarine and apatite jewel enamel

once the jewel enamel granules were worked right through the polymer clay I divided it up and made small balls which I flattened and then using a straw cut a hole in the middle to create a donut

I then made some deep blue using Lapis Blue jewel enamel


and finally I made a subtle green using Apatite


I put all the donuts on a piece of baking paper and popped them into the oven at 120C for 15 minutes
At the end of this time I saw that the jewel enamel had not actually melted so I turned the oven up to 140C and returned the clay for another 5 minutes but watched carefully - I didn't want to burn the clay.
This time the jewel enamel had melted and the colour of the clay had darkened considerably.

The clay had a matte finish and looked a little like sea glass. However I decided to let it cool and apply a glaze which really brought out the colours


I have some suede cord and silver tribal spacer beads so I think I will make a necklace. Watch this space for the finished piece!!


Tuesday, 19 August 2014

My Favourite Things

hand made beads


A few weeks ago Jewellery Maker TV asked me to write a blog post about some of my favourite things in jewellery making so here goes!

I LOVE making charm bracelets!
There is just something about wearing a bracelet that jingles and moves on your wrist with a satisfying weight. I have been making jewellery for over three years now and I think I have made more charm bracelets than anything else.

amethyst drops


I really enjoy choosing the gems, the colours and sizes that will go together and I usually try to find a range of different metal charms to add or even make my own with either jewel enamel or polymer clay.

Choosing the right chain is important  because you need a good sized link to enable you to put add the charms and to help you space them out to give a balanced look.
faceted shell pearls, shell discs and hand made jewel enamel beads


I have tried a variety of techniques but I think the one I use most often is to use a head pin and then roll it down  and either attach it straight onto the chain or use a jump ring to give a little extra movement. You do need quite a few headpins and I think these with the heart end from Jewellery Maker TV would really add that special touch


I love this little kit which gives you all you need to get going with a chain, S clasp and some little charms and if you add a few of your favourite gems you'll have a great result.


For those who like to embellish their charms I like these silver flash brushed flat charms because you can leave some as they are, stamp some and add detail embossing powder or use alcohol inks in a random pattern to add a bit of colour. That way you would get a range of colour and texture but using all the same charms

There is a bit of a craze for having charms that the wearer can re-arrange themselves. I have a pretty summertime one with enamelled beach themed charms and they are all on little lobster clasps. You could easily do this yourself or if you prefer you can add real gemstone ready made charms like this faceted amethyst 


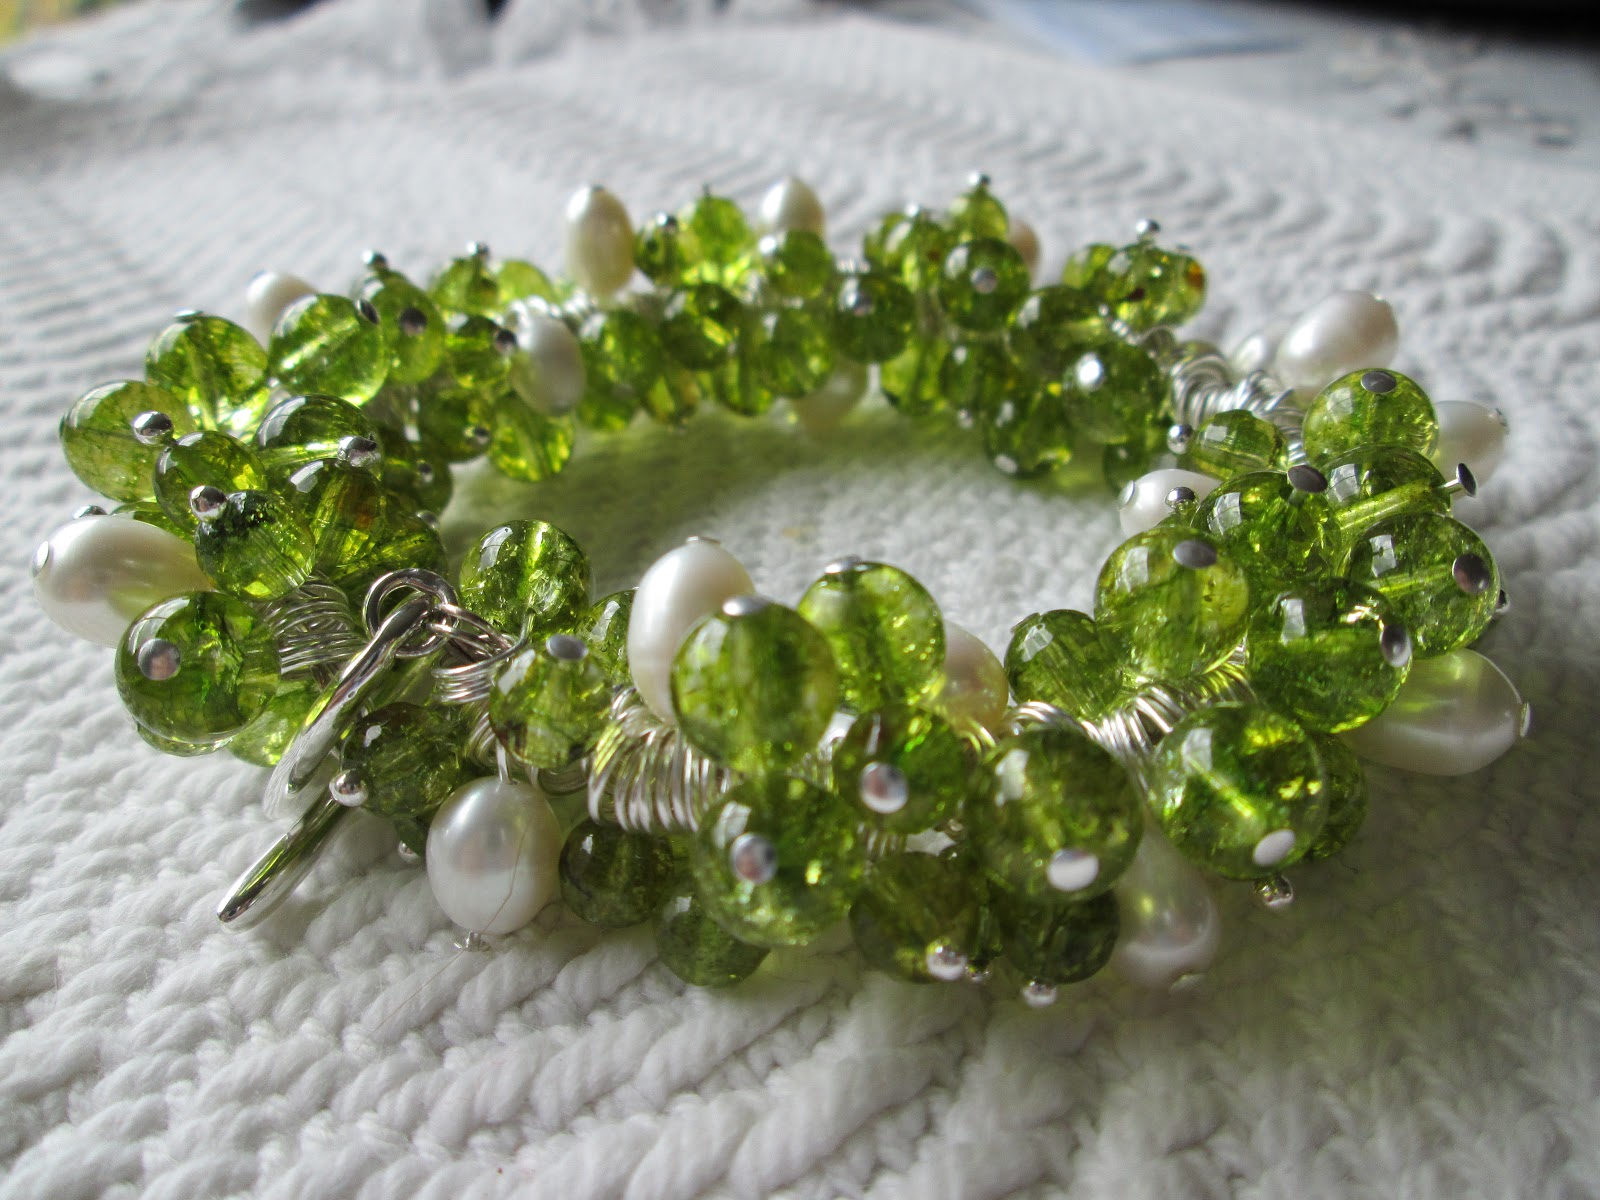
Here is one of my favourite charm bracelets made using some beautiful peridot rounds with little freshwater pearls. This little beauty went to a good home for someone with an August birthday!


I like to add one finishing touch by popping a "made with love"  or "handmade for you" charm usually on the extender chain or near the clasp

Every charm bracelet is different - they can be very personal like this cherry lips made for someone who loves "vamping it up"
                                          OR  a bit of fun like this bumble bee bracelet


OR to match an outfit like this shell pearl coffee and cream

BUT the wholepoint of a charm bracelet is that they feel great to wear!


New Venture

Well this is a bit of a momentous day........


Last week Jewellery Maker TV aired the last of their shows to feature jewel enamel which as my readers will know is my favourite medium to create with. It isn't their fault....Ranger, who make the melt pot,  have had to cease selling it because of an issue with the manufacturer and as the melt pot is really the essential tool for using jewel enamel this makes it hard to feature on a show because new viewers would be wanting to buy the pot.

Making jewellery this way is a slightly niche craft with many of us feeling our way in our designs and learning new techniques often by accident. So we need to gather together in some way which is why a few months ago I created a Facebook group for fellow crafters to share ideas, tips and inspiration and last week I realised  that we should make sure all our collective knowledge isn't lost.

I started gathering images into subject albums on our Facebook pages and that's when I saw that we needed more than just a few pictures with a brief description we needed proper tutorials with creative diary images.


In this modern age I think the best way to do that is to use a blog - so I have launched a team blog with a small group of admins and we will invite guest authors to share.
I love the fact that the blogging world is mostly public because this means anyone with a passing interest can drop in a have a browse.
There are some extremely talented people on the site so it is very exciting wondering what they will come up with.


I have quickly earned that I need to make sure I photograph everything during the making stage as well as the finished product because that is what people need to see....photo tutorials and diaries.


So for any of  my readers who would like to pop over, here is the link
www.jewelenamelgems.blogspot.co.uk

I will still be writing this blog and postimg more of my adventures in creativity and hopefully there will be more advances in skills as I learn from my fellow bloggers


Saturday, 30 November 2013

Christmas Decorations

So I got the melt pot out for the last time before Christmas - sadly the day job has taken over at the moment!! Obviously some of the things I have made are surprise presents so you won't be seeing those until after the Big Day but I have made a whole rainbow of stars for family and friends for their trees.

I used a large star mould that I bought from Jewellery Maker TV which is just thick enough for a good pour but not so thick that it takes ages to cool and harden

 First I mixed a small amount of white with clear UTEE and a tiny pinch of  blue mica powder and poured a star, you really do only need a small amount of the white - it goes a very long way. Then I added a little more mica and some aquamarine to pour a marbled second star. After that I gradually added more and  more aquamarine topping up with clear when necessary and poured a colour gradation of stars that will match my wreath and colour scheme


After cleaning out the melt pot I used Cosmic Shimmer Light Gold  with a small amount of clear which gave a sumptuous colour and poured a complete set of stars in all the same colour I loved it so much


 Another clean out of the melt pot and this time I used clear UTEE with some Cosmic Shimmer ink to give this glorious green. I poured a few stars in green and then began to add a second green ink which is much more of a teal and created a colour gradation through to almost turquoise
 these stars have a rich gem like quality and look amazing with light shining through


Then I melted some left over transparent ruby  to make just a few glowing red stars


I had already experimented with the star idea when I made my small Christmas wreath for my daughter. There will be a picture of that in a later blog!  Her colour scheme is purple, red and gold so I added some glitter and gold embossing texture to her stars


 I liked the embossed effect so dug out my stamps and detail embossing powder to add some texture to my first set.


Here is a close up so that you can see the finished product


Finally I gathered all my efforts together for a curtain call
A rainbow of stars for Christmas


All that was needed was to melt holes in each one with a variable temperature soldering iron on 160 degrees and thread with shimmery cord ready to hang on the tree


Friday, 2 August 2013

More Summer Brights

In my last post I was wondering if there was scope to create a matching necklace to the juicy charm bracelet. 
Often when I am pouring I try to recreate a certain colour or mixture and get frustrated because I just can't quite get it right.
This time because I had used pretty much unmixed colours apart from a tiny bit of clear to make everything a little less dense in colour and a touch of mica powder to add a shimmer I was able to reproduce virtually the same colours.

So I poured just a couple of the periwinkle flower and three large leaves, then I realised that the mould had a tiny leaf which I thought would really balance a necklace.


I did think was going to be hard to pour without spilling everywhere because it was so small - UTEE is not the easiest medium to control but apart from one reject I was able to pour quite a few tiny leaves to complete the set.


I then had a rummage in my stash for some purple toning beads and found some lovely blackberry coloured faceted glass in a deeper purple. Perfect!

I added a matching silver toned chain and here it is......


a close up shows the detail


here are the two pieces together


Sunday, 10 February 2013

Added Bling!

I have a Facebook friend, Michele, who shares my jewellery making passion and loves experimenting with alternative media.
Together we have been working with jewel enamel UTEE and trying to push the boundaries of our skill and experience.
Last week Michele began to add craft glitter to her pieces with amazing results.
Craft glitter is not the classroom stuff of Christmas cards - it is very fine, made from a lightweight iridescent polymer that often changes colour with heat. This makes is easy to use with jewel enamel but as you will know if you have used UTEE the temperature is very hot ( 140C) which can distort the particles causing them to clump.
Following Michele's experimenting I had to try some myself so armed with mini taster pots of  lovely colours I spent a Saturday morning experimenting.

As Valentine's day is looming I thought I would try a red puffy heart with red glitter added to the pan - disaster - it was obviously too hot and just formed a gunge clump!
Next I decided to use a white powder that already has glitter in it so added a swirl - disaster - the white was so opaque that it over powered the red and made a sickly pink with very little glitter showing.
Romance be blowed!  By the way nothing is wasted - all scrap can be recycled!

I cleaned out the pot and chose blue - deciding to add a small sprinkle of glitter to the mould rather than the pot. This time success!

this lovely puffy heart has two colours of glitter-a blue and iridescent white
I have added a brooch pin to the back deciding to leave the simplicity of the heart

Next I went for spring colours and chose a light turquoise with peridot green, lightly swirling the two together so that they didn't mix but marbled. Again I added the glitter to the mould

this face mould reminds me of the Easter island statues


the puffy heart with green glitter added to one side

I still had some melted enamel in the pot so used a silver bezel to pour into

this time as I heat polished the surface I added a small amount of green glitter to the soft enamel

To finish my session I used a new colour Apatite Green which is probably more sludge green with dark gold undertones. So I decided to make a heart charm bracelet with gold findings.
I wanted to grade the colour from green to gold so after pouring two hearts I added a small amount of clear and let it begin to turn amber then poured again. The next pour I added a little gold which really began to alter the colour and then for the final pour it was almost all gold.
At the mid point of the colour transition I dipped a pair of earrings and with the final colour I poured a simple circle to be made into a brooch

I think this type of glossy finish simple jewellery is  my style.
Working on a piece like this gives me great satisfaction.