|
| Strawberries and Cream - a summer project |
As part of a summer challenge for a Facebook jewellery making group I decided to create a fully loaded bracelet and charm pendant representing summer strawberries.
I have two lovely strawberry moulds and numerous leaf moulds which work well and I wanted to create hand made dipped beads in a clotted cream colour.
 |
| a home made mould |
 |
| this is a Martha Stewart mould |
To create the berry colour I used Diamond Clear with two reds - Cosmic Shimmer's Berry Red and Crafty Notions Ruby Red
because it was quite time consuming to create a batch of charms I needed to keep turning down the heat to stop the mix going too orange
 |
| the small mould poured |
 |
| finished small berries |
I also poured the large strawberry
 |
the finished strawberries
|
Next I created the leaves using Crafty Notions Peridot and Diamond Clear
 |
| Martha Stewart moulds |
 |
completed leaves
|
To make the beads I colour mixed a clotted cream colour using Diamond Clear with a small amount of Ranger's UTEE white and a sprinkle of Cosmic Shimmer's Light Gold
 |
| colour mix for beads |
I played around with this until I got a slightly lighter colour than I needed - knowing it would darken with the heat
To make hand dipped beads you need a head or eye pin and then dip the finding in repeatedly, building up layers. You need to gently rotate the pin to make a round shape although the slightly imperfect ones have an organic feel. To make sure the colour is consistent I dipped each pin in turn with each layer building rather than making a complete bead each time.
 |
just dipping the end of the eye pin into the mix
|
 |
swirling gently to get a good shape
|
 |
third dip
|
 |
| all lined up ready for the final dip |
 |
completed beads
|
 |
| the completed bracelet elements |
 |
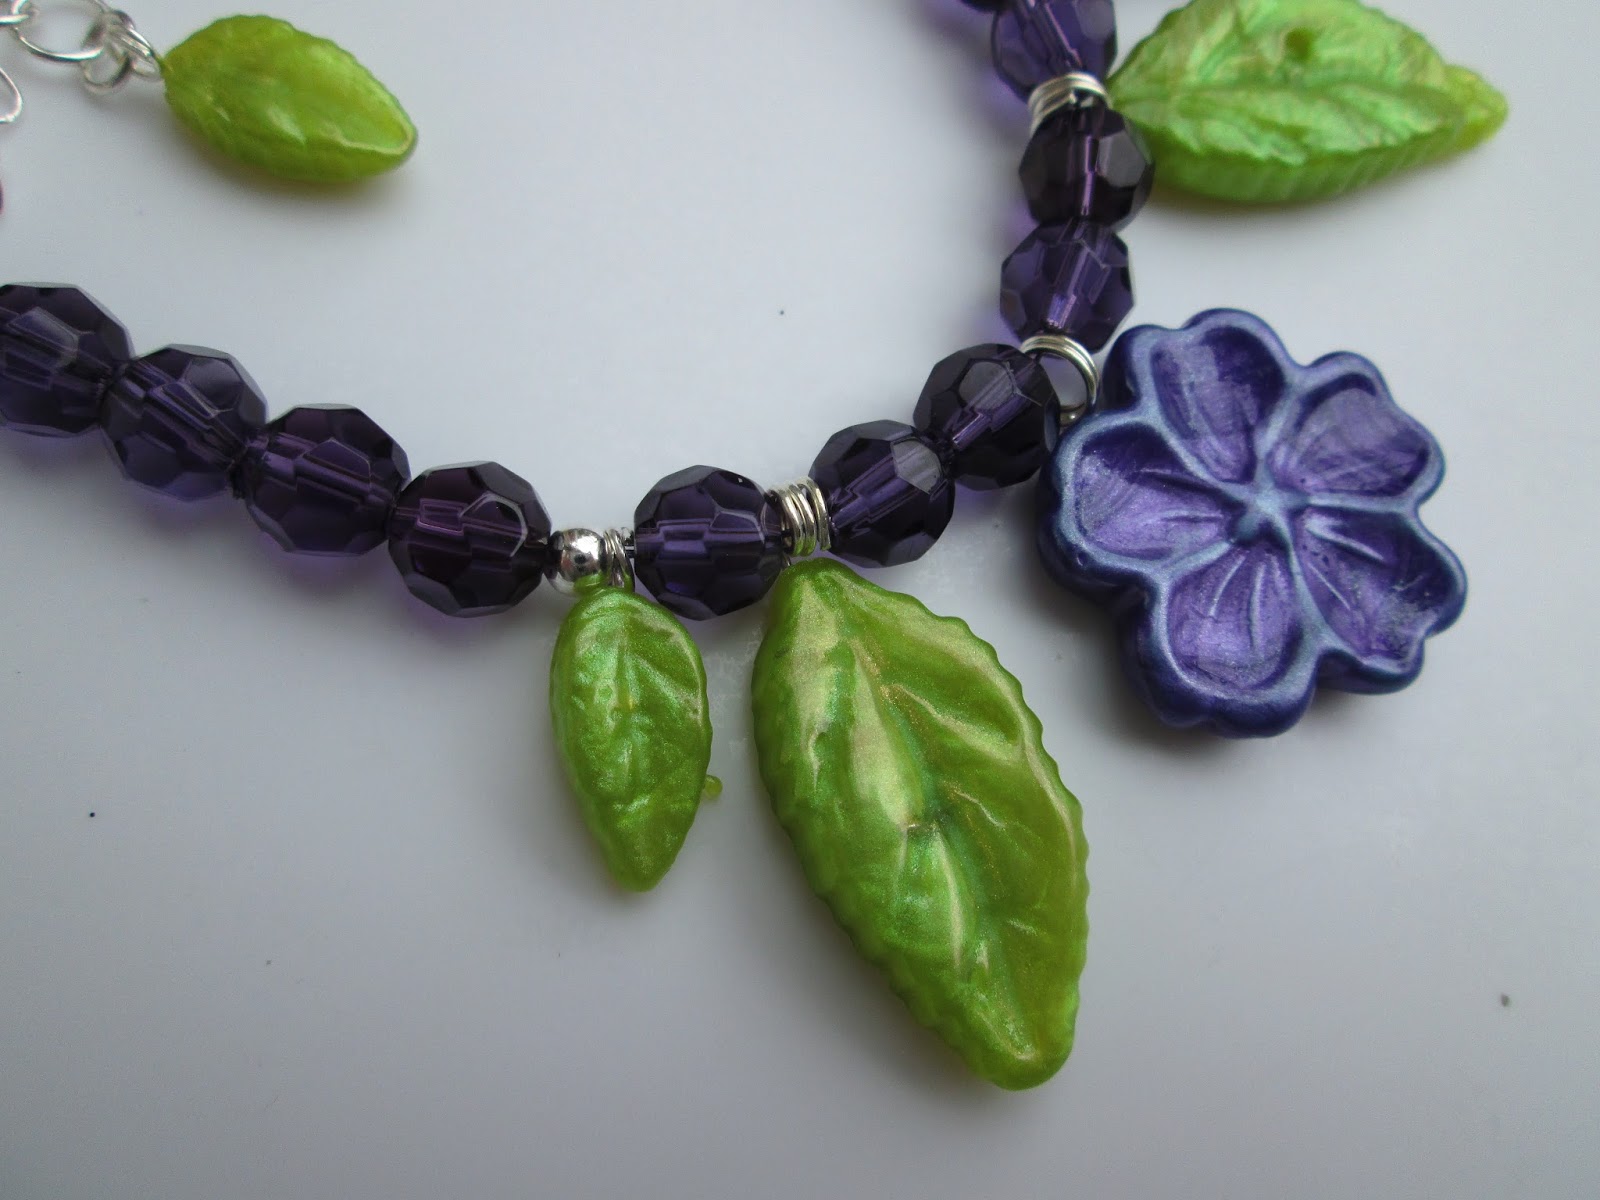
the finished pendant elements
|
Finally I assembled the charm bracelet and created the charm pendant
 |
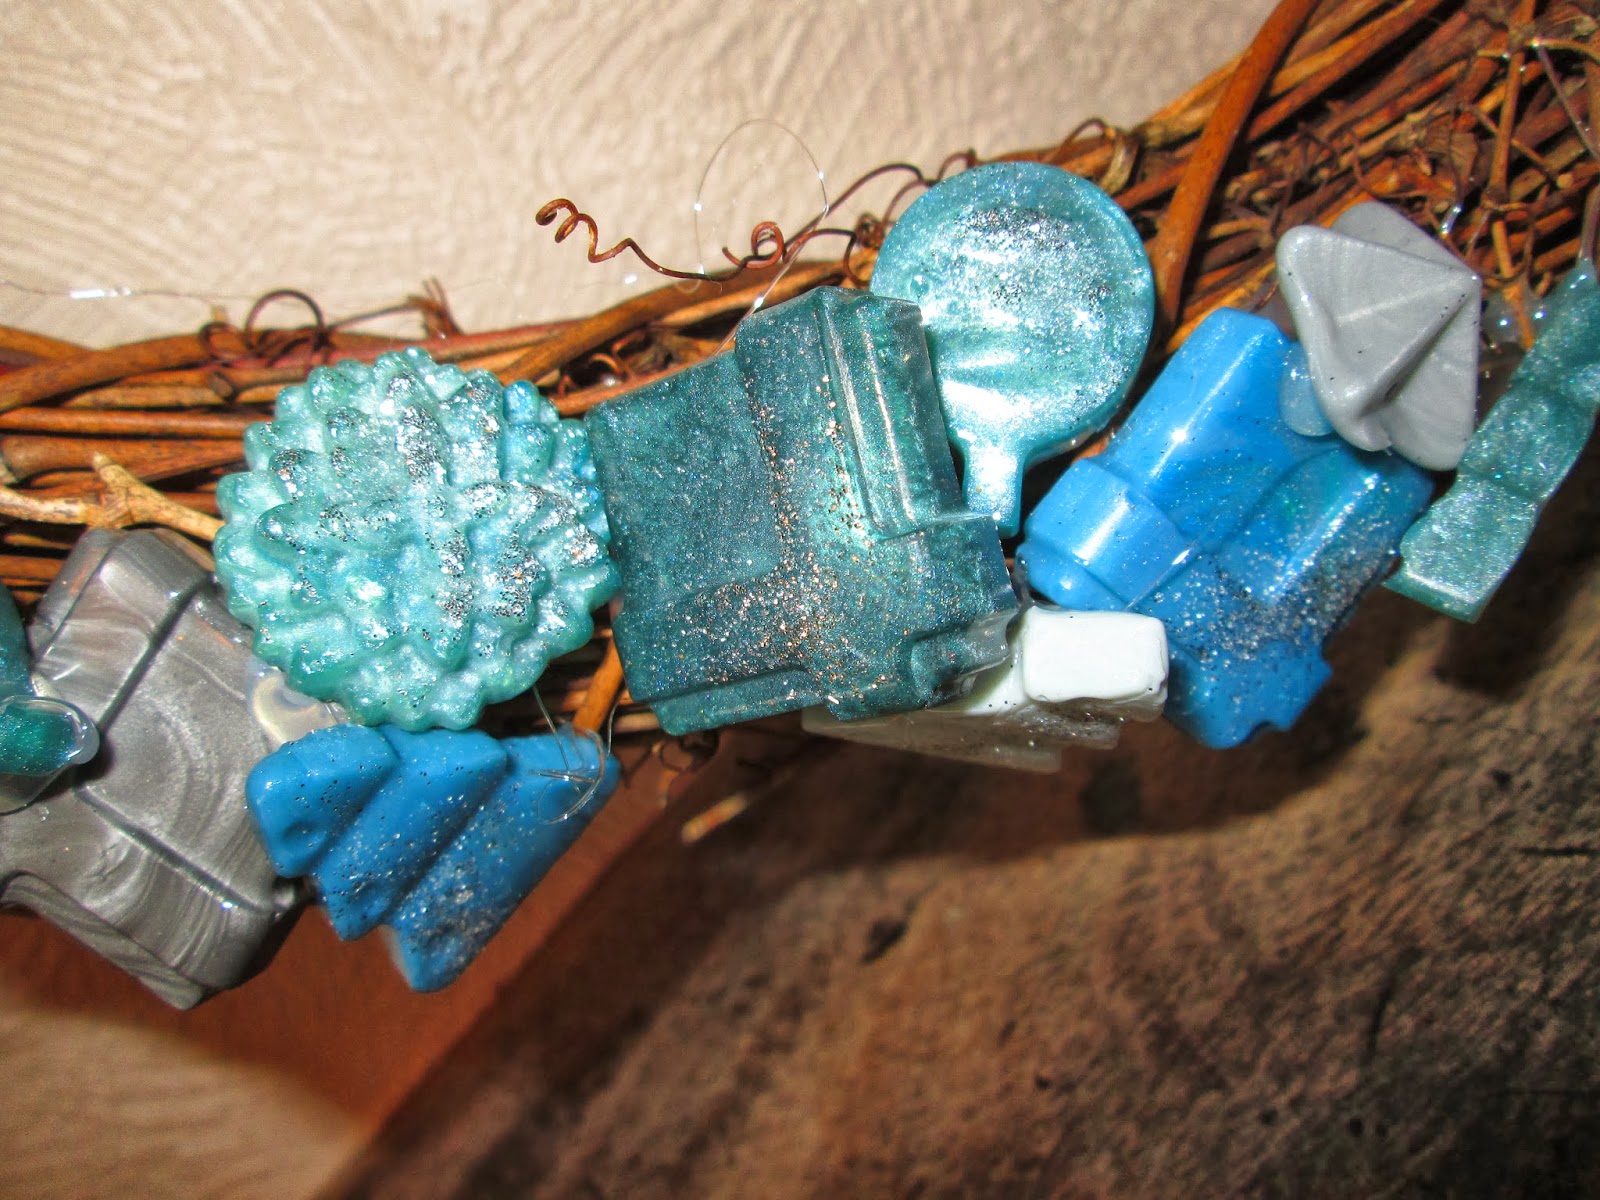
a close up of the bracelet
|
I think this has a real feel of those long summer days!