Showing posts with label charm bracelets. Show all posts

Tuesday, 19 August 2014

My Favourite Things

hand made beads


A few weeks ago Jewellery Maker TV asked me to write a blog post about some of my favourite things in jewellery making so here goes!

I LOVE making charm bracelets!
There is just something about wearing a bracelet that jingles and moves on your wrist with a satisfying weight. I have been making jewellery for over three years now and I think I have made more charm bracelets than anything else.

amethyst drops


I really enjoy choosing the gems, the colours and sizes that will go together and I usually try to find a range of different metal charms to add or even make my own with either jewel enamel or polymer clay.

Choosing the right chain is important  because you need a good sized link to enable you to put add the charms and to help you space them out to give a balanced look.
faceted shell pearls, shell discs and hand made jewel enamel beads


I have tried a variety of techniques but I think the one I use most often is to use a head pin and then roll it down  and either attach it straight onto the chain or use a jump ring to give a little extra movement. You do need quite a few headpins and I think these with the heart end from Jewellery Maker TV would really add that special touch


I love this little kit which gives you all you need to get going with a chain, S clasp and some little charms and if you add a few of your favourite gems you'll have a great result.


For those who like to embellish their charms I like these silver flash brushed flat charms because you can leave some as they are, stamp some and add detail embossing powder or use alcohol inks in a random pattern to add a bit of colour. That way you would get a range of colour and texture but using all the same charms

There is a bit of a craze for having charms that the wearer can re-arrange themselves. I have a pretty summertime one with enamelled beach themed charms and they are all on little lobster clasps. You could easily do this yourself or if you prefer you can add real gemstone ready made charms like this faceted amethyst 


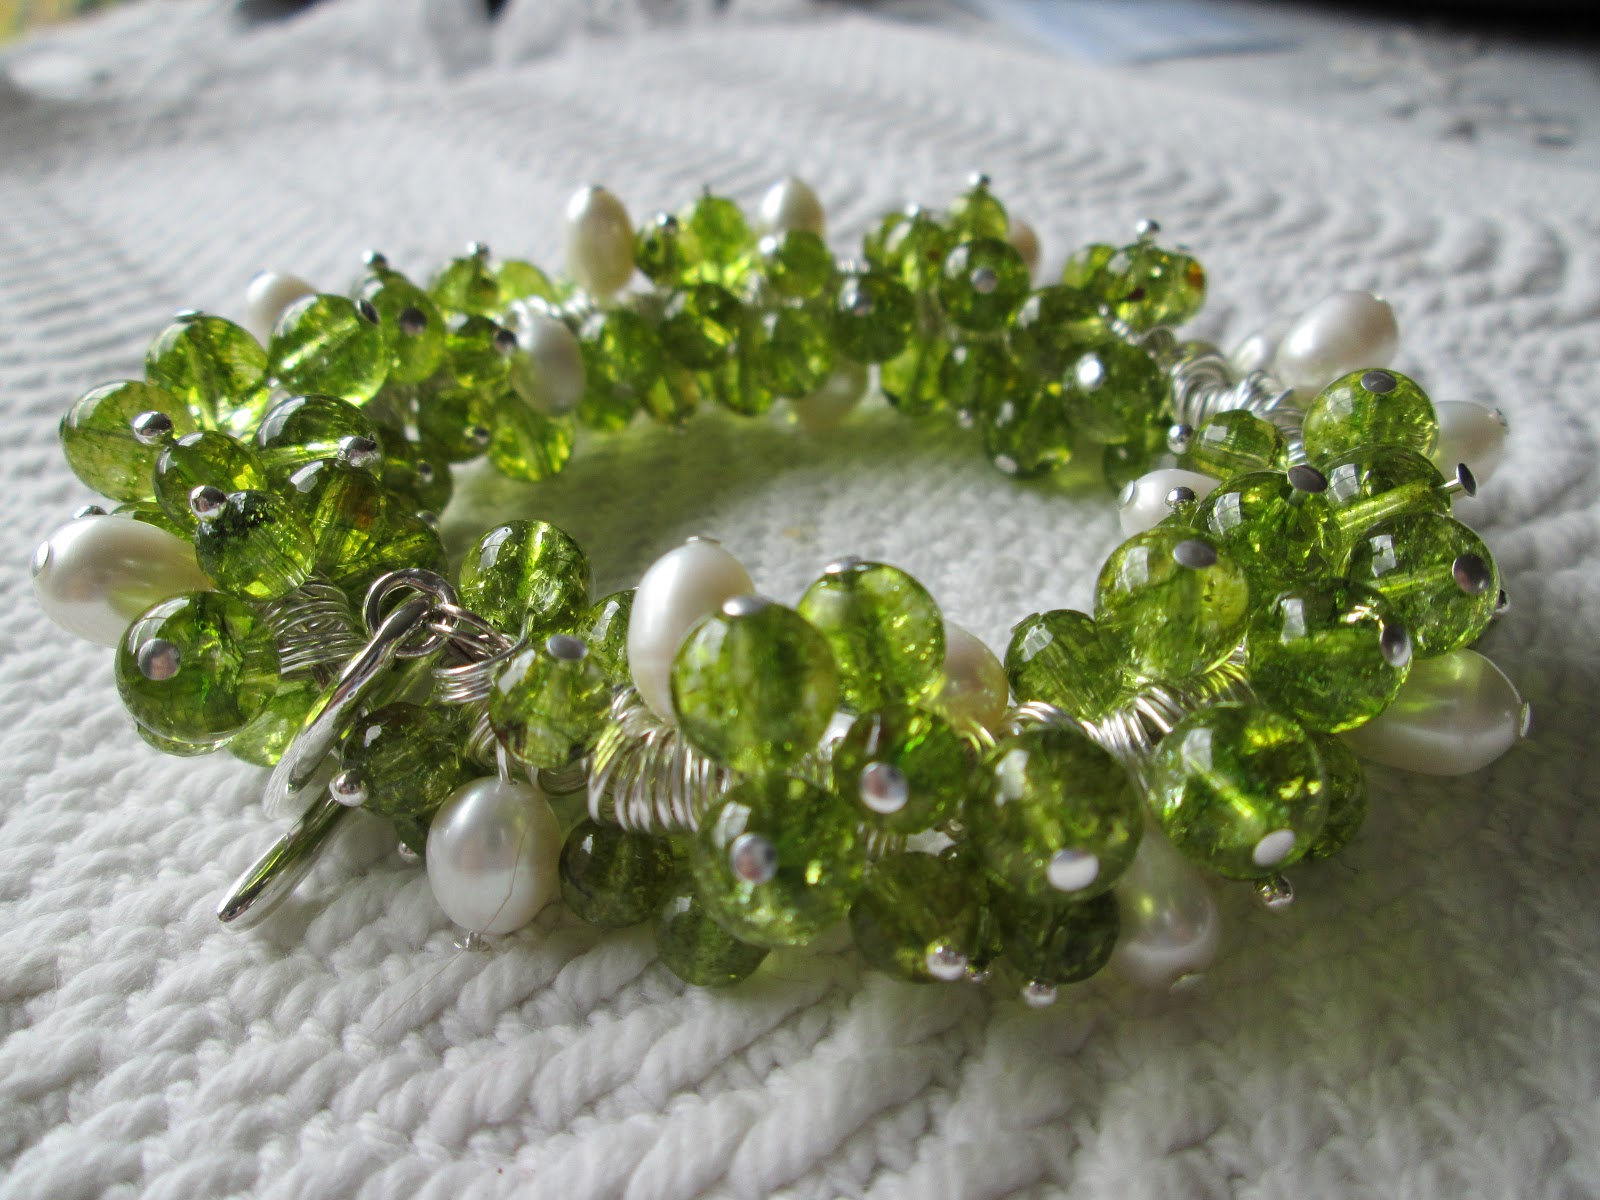
Here is one of my favourite charm bracelets made using some beautiful peridot rounds with little freshwater pearls. This little beauty went to a good home for someone with an August birthday!


I like to add one finishing touch by popping a "made with love"  or "handmade for you" charm usually on the extender chain or near the clasp

Every charm bracelet is different - they can be very personal like this cherry lips made for someone who loves "vamping it up"
                                          OR  a bit of fun like this bumble bee bracelet


OR to match an outfit like this shell pearl coffee and cream

BUT the wholepoint of a charm bracelet is that they feel great to wear!


Friday, 1 August 2014

Strawberries and Cream - a Summer Project

Strawberries and Cream - a summer project


As part of a summer challenge for a Facebook jewellery making group I decided to create a fully loaded bracelet and charm pendant representing summer strawberries.
I have two lovely strawberry moulds and numerous leaf moulds which work well and I wanted to create hand made dipped beads in a clotted cream colour.
a home made mould

this is a Martha Stewart mould


To create the berry colour I used  Diamond Clear with two reds - Cosmic Shimmer's Berry Red and Crafty Notions Ruby Red


because it was quite time consuming to create a batch of charms I needed to keep turning down the heat to stop the mix going too orange
the small mould poured 

finished small berries
    I also poured the large strawberry


the finished strawberries
Next I created the leaves using Crafty Notions Peridot and Diamond Clear
Martha Stewart moulds
completed leaves


To make the beads I colour mixed a clotted cream colour using Diamond Clear with a small amount of Ranger's UTEE white and a sprinkle of Cosmic Shimmer's Light Gold


colour mix for beads

I played around with this until I got a slightly lighter colour than I needed - knowing it would darken with the heat


To make hand dipped beads you need a head or eye pin and then dip the finding in repeatedly, building up layers. You need to gently rotate the pin to make a round shape although the slightly imperfect ones have an organic feel. To make sure the colour is consistent I dipped each pin in turn with each layer building rather than making  a complete bead each time. 


just dipping the end of the eye pin into the mix


swirling gently to get a good shape


third dip


all lined up ready for the final dip

completed beads


the completed bracelet elements
the finished pendant elements

Finally I assembled the charm bracelet and created the charm pendant 

a close up of the bracelet


I think this has a real feel of those long summer days!


Monday, 24 February 2014

Cherry Ripe

A few weeks ago I bought some lovely little cherry charms in a gold colour. I knew I wanted to make a charm bracelet for spring but couldn't think what else to add.
Then I bought a great mould for lips - I was intending them for hair clips but realised they would be great fun as charms made from UTEE jewel enamel so it was time to get out the melt pot.

I needed to make a really bright red so used just a couple of drops of red melt ink in clear UTEE and for fun added bright red glitter


the lips mould is very flexible and makes four at once which speeds up the process


I embedded short gold ball headpins to roll down


when I carefully heat polished the lips the glitter became even more BLING making the lips look quite juicy

I hand made a two by two chain for the bracelet and added the charms


I decided that it needed a contrast colour so found some flat black onyx faceted discs

I had three lips left and did think about earrings but finally decided on a long chain with a fully loaded dangle on the end


cherry lips charm bracelet and necklace


I had some jewel enamel left and had left it to solidify in the melt pot.  I returned to the pot and heated it up to try a couple of experiments.  I had bought some vintage steam punk effect keys and clock faces quite a while ago and not really thought of a project. I decided to see what they would look like with UTEE poured over the back surface to show through. 
I managed to pour just to cover the clock face but the key spread a bit so before it got too cold I used a sharp blade to cut off the excess and then carefully used the heat gun to neaten it up.

the final small bit of red I used in one of my lovely figured heart moulds and when cold used gold gleam wax which I buffed up once set.


Tuesday, 30 July 2013

Summer Brights

After all the hot weather at last a cooler afternoon so that I have been able to get the melt pot out for a spot of jewel enamel UTEE creating
I wanted to make a really bright bracelet to go with a summer maxi dress that has so many colours but with a strong purple and lovely green.
UTEE is great for summer jewellery because it is so lightweight. It is great to take on holiday especially in a hot climate.
So here it is....

I used Crafty Notions Jewel Enamel (UTEE) in amethyst and peridot
The mould is from a Martha Stewart woodlands set.
I have also used a turquoise mica powder to highlight the texture features on the flowers and a light gold mica powder for the leaves


in this close up you can see the delicate detail of the flower mould


am now wondering if a simple charm cluster necklace might look good with it

Thursday, 4 April 2013

Pink Bead Soup

A couple of weeks ago I bought a mixed scoop of glass beads from a friend. The colour was lovely and after a play with them, sorting and mixing again....any jewellery maker will recognise that experience... eventually I began to think about how to use them.

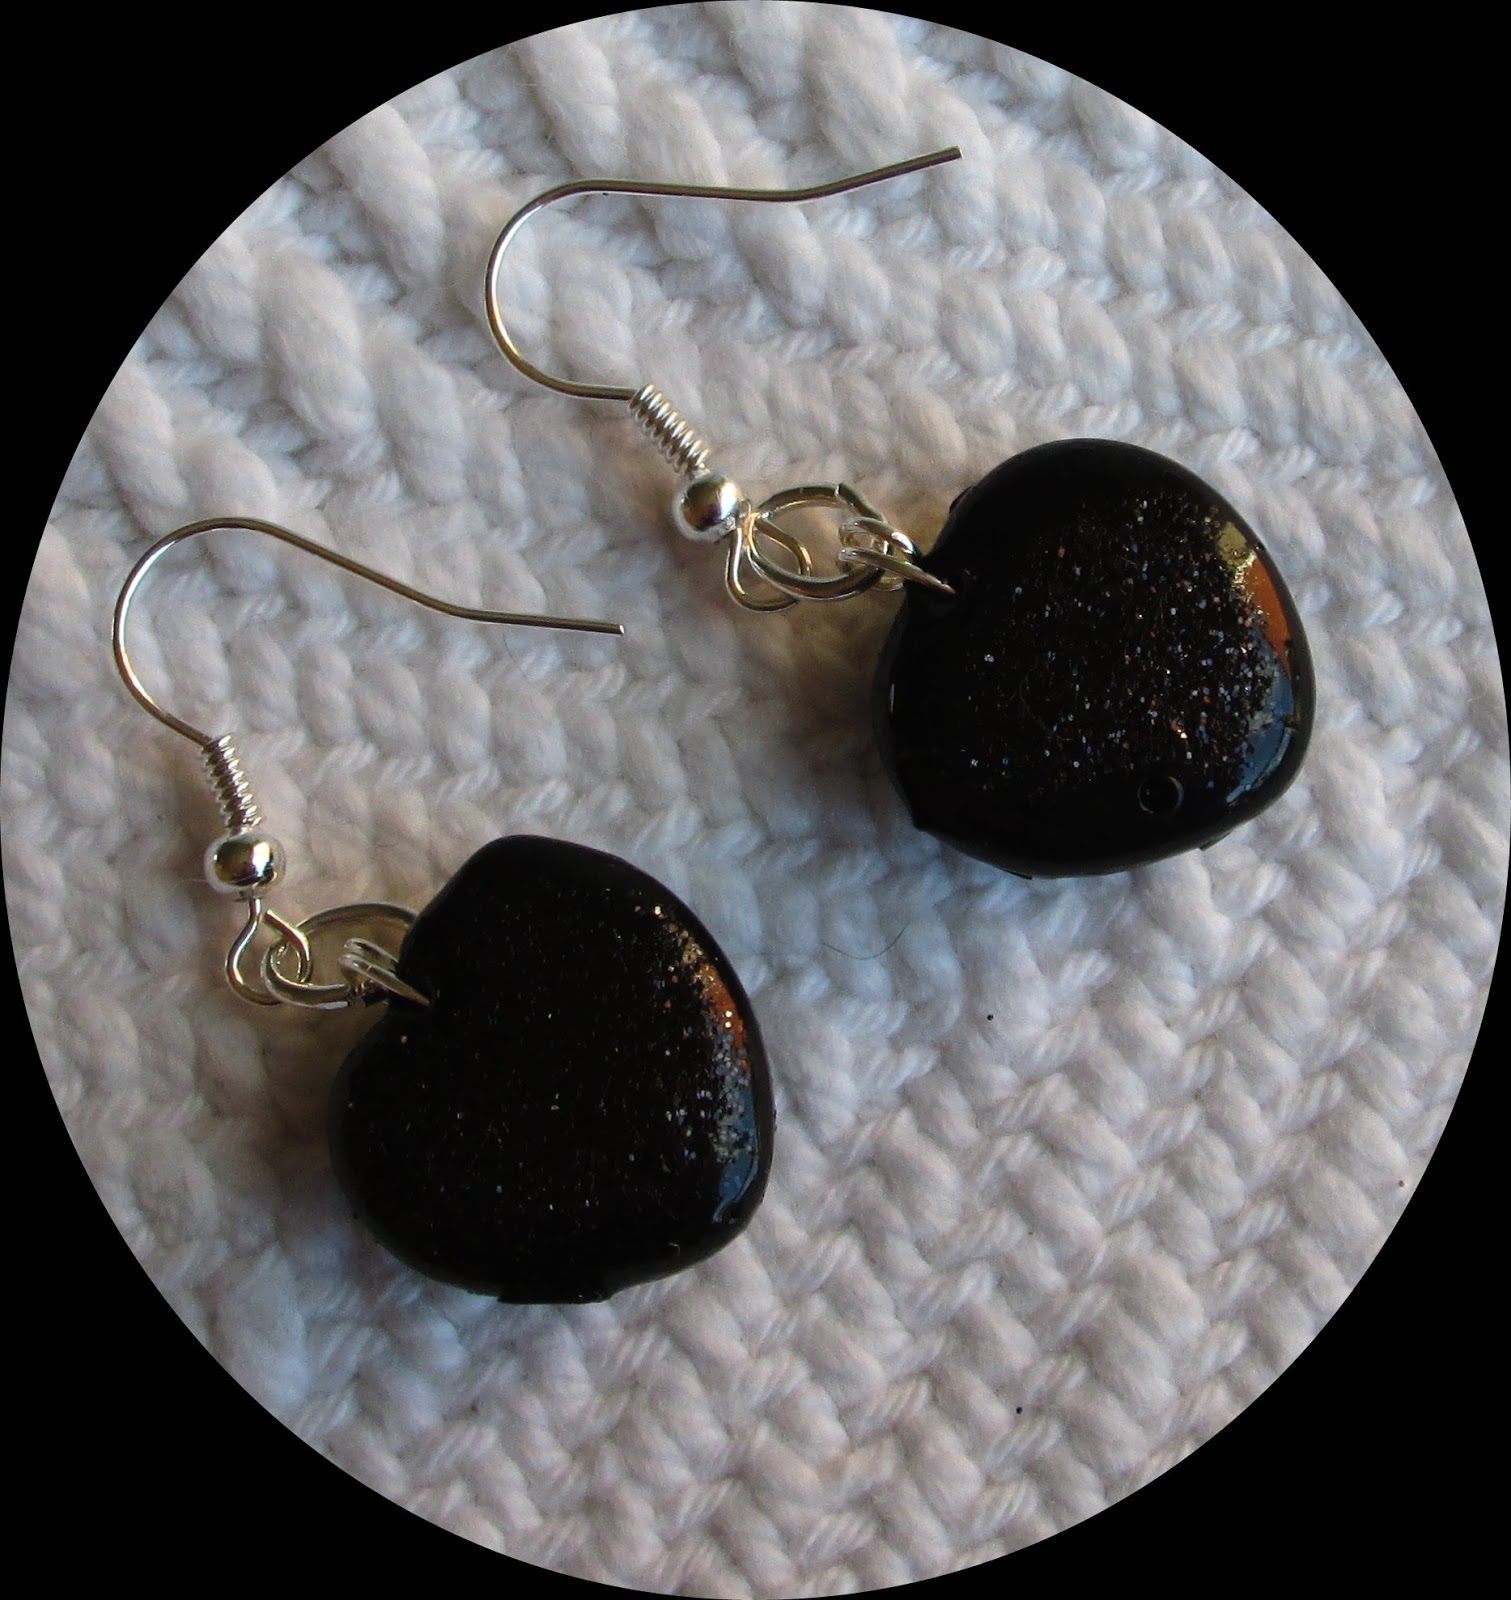
I had made a mould for using with UTEE, small hearts which would be super as charms. So I mixed up a batch of glossy black and poured a set of black hearts which I then embellished with black glitter. There was enough left over to pour a heart pendant too.

I made a simple two by one chain for a charm bracelet and then went on a hunt for headpins with a fancy end for the extra large holes in some of the beads. A quick trip to Purple Butterfly Crafts in Hawarden fixed me up with some black vintage looking headpins. Then I began to create the bracelet...a real joy....the only problem was choosing from all the beads.


Once the bracelet was completed I turned my thoughts to a necklace.
I wanted to make a focal charm portion using three large twisted ovals but didn't want it to be too heavy so experimented with a partial charm section on wire...didn't like that effect at all...on beading thread...nope.....on chain......hmmmmm close but not quite what I was after. Eventually I settled on seed beads, a double row which would be good and strong to hold the charm portion.
A powerful magnetic clasp with a couple of pink mystic beads finished it off.


Finally a couple of pairs of earrings... black for a chic look and white glass hearts for a lighter daytime look.


Am pleased with this result...a bit of a departure for me.