Friday, 17 January 2014

Home made moulds

I have treated myself to a large pack of some moulding putty - the two part sort.
So after choosing some interesting  shapes from earrings, brooches and buttons plus some cabochons I began to make moulds.
For anyone who has never done this - you take equal parts of each colour of the putty and quickly mix it together them mould around your shape. For pouring UTEE jewel enamel you need deep moulds so I made sure the sides were steep enough. I left them for about 10 minutes to cure and then released my objects.
This is a picture of the finished moulds


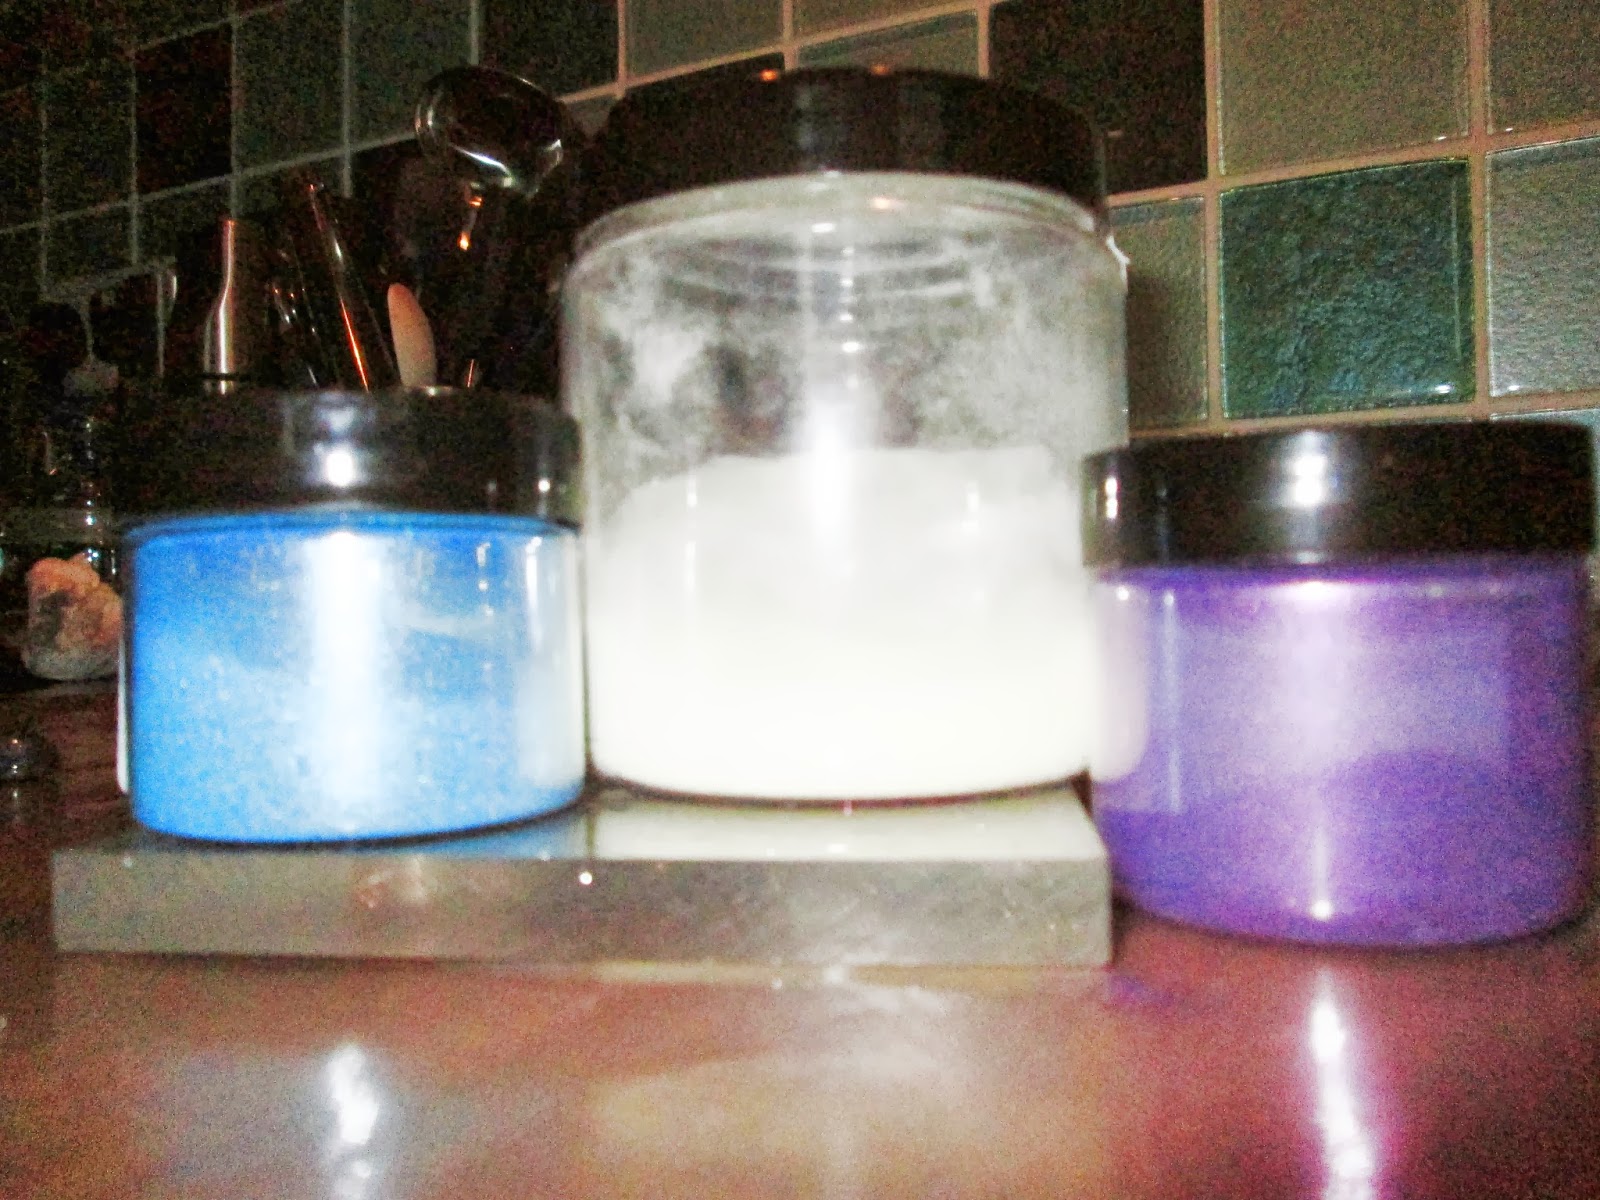
Over the holidays I had gone through all my odds and ends of poured UTEE and consolidated colours. So I decided to use this for trying out the moulds. First I dipped into my red, orange, copper and gold tub of bits. Melting some together but not stirring totally gave me an almost carnelian look which I poured into a cabochon shape and a little earring mould plus an unusual figured pear drop which I made from a large earring.


After cleaning out the pot and keeping leftovers - because I really like this colour - I turned to some gorgeous malachite green than I had leftover.
I melted it and poured a straight colour into a large flower button shape


Then I added some gold to one side of the melt pot


I really liked this effect but I know that adding too much gold can really muddy the colour mix so I sprinkled some gold jewel enamel powder into the mould and then poured.
Once cool I took the shape out of the mould and used the heat gun to melt the gold powder


I decided to try this effect again but using copper instead of gold into the mould before pouring


this is an amazingly rich result and quite controllable

I had a little bit left in the melt pot so added some clear to produce a sort of old recycled glass effect


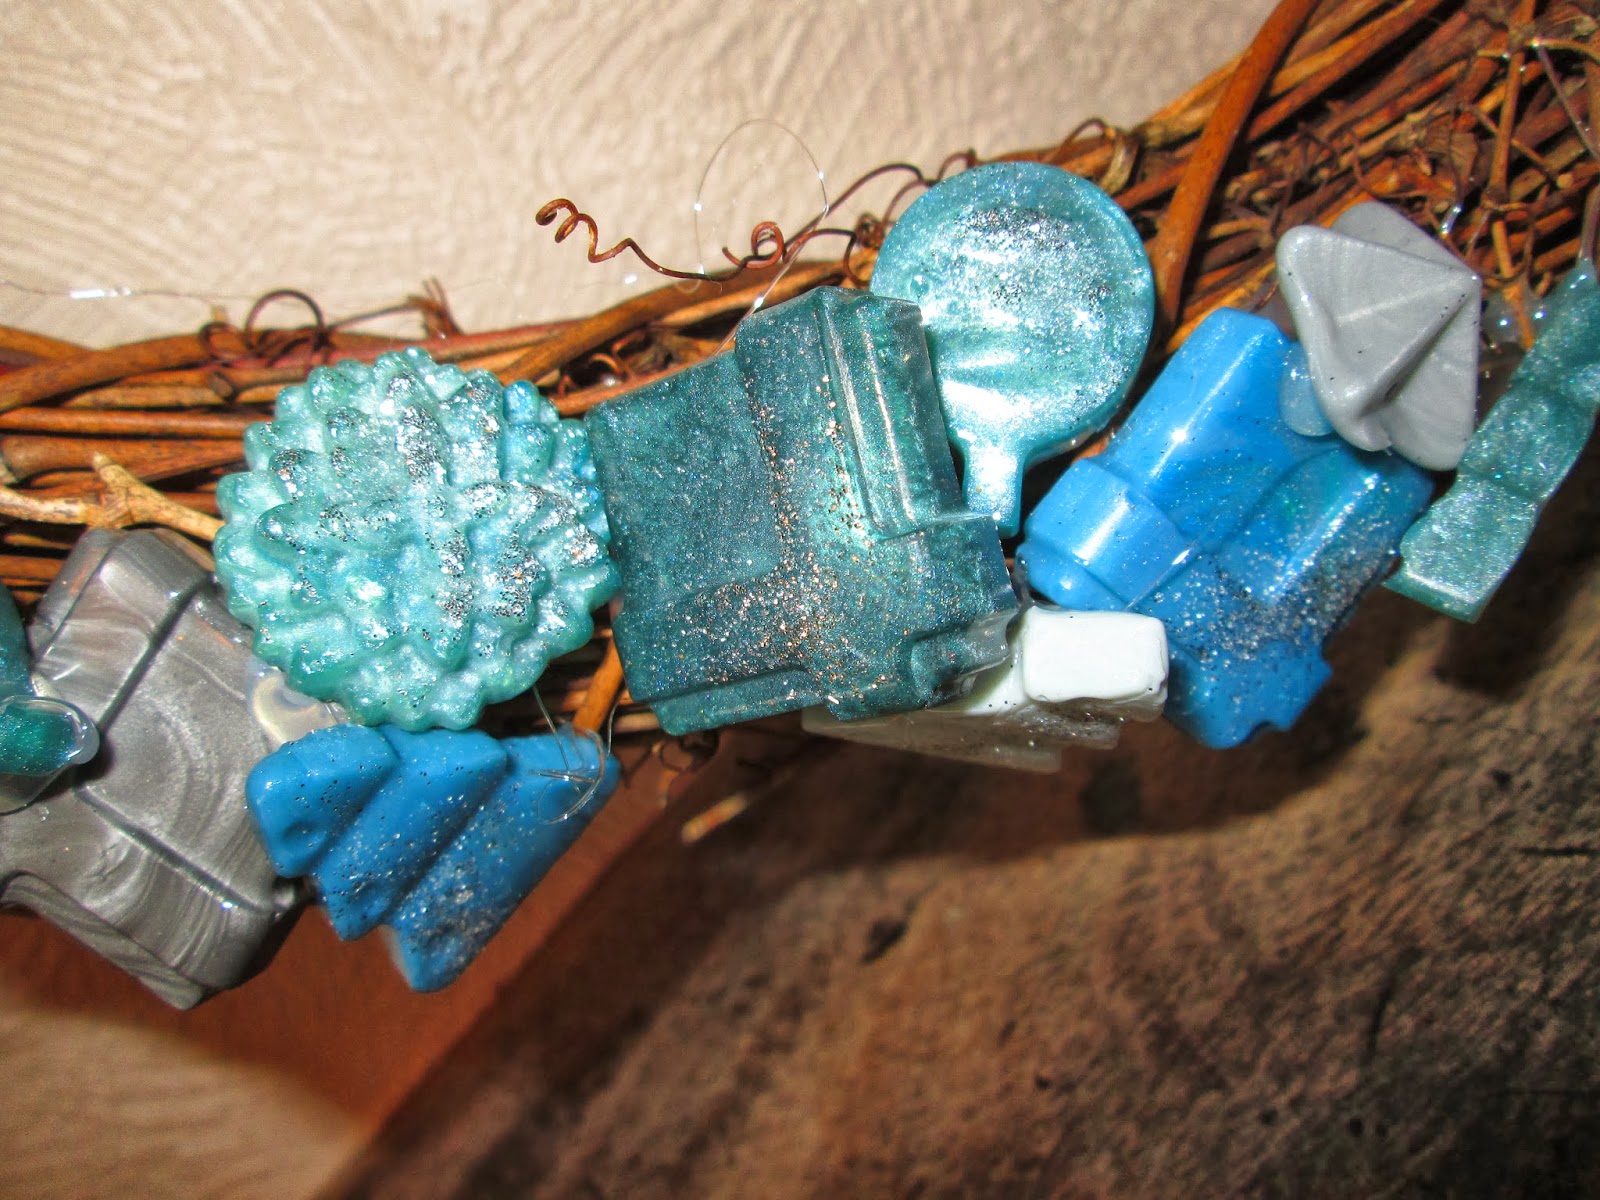
I really like these moulds and together with the button moulds I think I have a great set of shapes for future experiments.  I tried out all the moulds, remelting those I didn't really like. One mould which I have had a go at and had a stunning result I wanted to show you all but sadly as I was positioning for photos I managed to drop it onto the kitchen floor and being UTEE of course it smashed. 
It is the cat mould....so watch this space......


UPDATE

Just thought you might like to see what I did with some of the pieces from these moulds


the green pendant is deep enough to be able to wire wrap and the little earrings which remind me of carnelian have just enough of a dangle and are so light you don't know you are wearing them


Thursday, 2 January 2014

New Year Resolutions

Christmas seems to take over crafters. I spent lots of time making cards - which anyone who knows me will probably be rolling round laughing all over the floor about...you might even have received one...they were a bit like hen's teeth tho'!
I am not very good with shape and space as Maths teachers call it...I seem to be a bit 3D challenged and apparently I get it from my mum who also cannot open a packet, carton or paper bag to save her life. So you can see why card making is also a challenge but this year I did make about 25. And much blood sweat and tears was involved!!

I also received some treats......


plenty of friendly plastic to keep me going and to help me develop my skills


a resin starter kit 


a couple of new moulds
this one will make a super pendant


a filigree heart


and more jewel enamel than I have room for!!


So my resolutions for this year are:
1. to get much better at creating things with Friendly plastic and use it across a variety of media

2. To learn how to use and make jewellery with Resin

3. To be more inventive with the way I use UTEE jewel enamel.

As a way of making sure that I do expand my creativity I have been through my box of bits and bobs of odd pourings, extra pours and experimental pieces. I sorted by colour and realised that I make a vast amount of blue, usually leaning towards the teal end. I hardly ever use the metallics apart from as an accent and I rarely melt straight into a bezel. This is probably because I like using the bezels as moulds but I have so many other moulds now that I really do not need to do that so could afford to give away plenty more pendants created straight into the bezel itself.
a mix of blue and green with silver accents created straight into the bezel


Talking of giving away - I am going to approach a friend who creates cards for a local hospice and donate some of my makes to be sold. I cannot store anymore made up pieces so need some space and a hospice seems the ideal charity to support.

Monday, 16 December 2013

Christmas Greetings

To all my blog readers

Happy Christmas
and a
Peaceful New Year


Saturday, 30 November 2013

Christmas Decorations

So I got the melt pot out for the last time before Christmas - sadly the day job has taken over at the moment!! Obviously some of the things I have made are surprise presents so you won't be seeing those until after the Big Day but I have made a whole rainbow of stars for family and friends for their trees.

I used a large star mould that I bought from Jewellery Maker TV which is just thick enough for a good pour but not so thick that it takes ages to cool and harden

 First I mixed a small amount of white with clear UTEE and a tiny pinch of  blue mica powder and poured a star, you really do only need a small amount of the white - it goes a very long way. Then I added a little more mica and some aquamarine to pour a marbled second star. After that I gradually added more and  more aquamarine topping up with clear when necessary and poured a colour gradation of stars that will match my wreath and colour scheme


After cleaning out the melt pot I used Cosmic Shimmer Light Gold  with a small amount of clear which gave a sumptuous colour and poured a complete set of stars in all the same colour I loved it so much


 Another clean out of the melt pot and this time I used clear UTEE with some Cosmic Shimmer ink to give this glorious green. I poured a few stars in green and then began to add a second green ink which is much more of a teal and created a colour gradation through to almost turquoise
 these stars have a rich gem like quality and look amazing with light shining through


Then I melted some left over transparent ruby  to make just a few glowing red stars


I had already experimented with the star idea when I made my small Christmas wreath for my daughter. There will be a picture of that in a later blog!  Her colour scheme is purple, red and gold so I added some glitter and gold embossing texture to her stars


 I liked the embossed effect so dug out my stamps and detail embossing powder to add some texture to my first set.


Here is a close up so that you can see the finished product


Finally I gathered all my efforts together for a curtain call
A rainbow of stars for Christmas


All that was needed was to melt holes in each one with a variable temperature soldering iron on 160 degrees and thread with shimmery cord ready to hang on the tree


Friday, 29 November 2013

Christmas present exchange

One of the Facebook groups that I belong to decided to have a Secret Santa gift exchange where we would all make for each other.
I have been extremely lucky to be the recipient of a wonderful piece by a very talented wireworker Rachel Norris. This is the piece she has made for me - he is a cute 5cm tall copper pusscat brooch with twinkly eyes and pert whiskers. I am thrilled with him


 I made this fully loaded charm bracelet for my friend Tina who loves jangly things and dragonflies.
I used gunmetal findings and chain


The purple/blue beads are handmade from UTEE jewel enamel with mother of pearl rounds, faceted shell pearls and dragonfly charms.

To create the colour for the beads I used two colours blue sapphire and amethyst purple and clear, gently mixed and swirled to give a tanzanite blue

the beads are made using a headpin and adding layers of UTEE in what is called a Leandra bead


I then rolled down the headpin to create charms which I added to the bracelet.

I also made a focal bead for a pendant and some simple earrings - although by this time the colour had gone quite dark and looked more like Iolite


I decided to make the focal bead into a charm necklace


I'm happy with the results and very pleased that Tina really loves it.


a close up of the bracelet


Wednesday, 30 October 2013

Large Wreath

I have so enjoyed making and using my little Autumn wreath that I decided to create a larger one for the Christmas season.
I bought a large vine ring from Hobbycraft and a couple of chocolate moulds with a Christmas theme.


The colour scheme of my decorations is smoky blue and silver leaning towards a turquoise in the dining room.
I used both of my Ranger melt pots - one with a light silver and the other with a mix of aquamarine and sapphire blue.


I added small amounts of mica powder in silver and blue to create the variations in colour.
The multiple chocolate moulds meant I could pour quite a few in one go. I added a fine silver craft glitter to the moulds before pouring for that added bling!
The large Christmas trees are from a themed  mould bought from Jewellery Maker TV


The final touch is a three coloured bow.


here is a close up of the different pieces


I'm quite pleased with the result

Sunday, 6 October 2013

Autumn Decorations

Last weekend I went to Cardiff for a jewellery maker meet with a group of Facebook friends. We had a super time exchanging ideas, buying and selling our pieces and learning new skills. I led a session sharing  UTEE jewel enamel using the melt pot.
Being with so many wonderfully creative people gave a real boost to my mojo and I couldn't wait to get creating.

On the drive back we came along the Shropshire border lands which at this time of year are full of autumn colour so my latest make is a small wreath of leaves and flowers in autumn colours.


Each piece was poured individually from a melt of clear with added red which I then graded through by adding yellow with some gold mica powder and then eventually green.
I cleaned out the melt pot and started with a lovely orange which I added copper to and then a deep brown.
After arranging I glued each piece to the wreath and used a very small amount of gold and zesty orange mica powder  gently rubbed over to highlight the details of the mould.


The actual mould is a  composit of poinsettia flowers and a variety of leaves so really meant for Christmas but in these colours it works well.

The wreath is about 8 inches diameter so quite small and just about suitable for a fireplace mantelpiece or to put a church candle in.