Saturday, 11 May 2013

TRUE BLUE

I have been struggling to produce a really true Santorini blue with my UTEE jewel enamel and the melt pot. I have created some lovely teals and greens and turquoise but that wonderful deep blue has been quite illusive.

However I have discovered alcohol inks which give a wonderful clear colour and so I set up some experiments to find that blue.
As I was starting with clear base which can go amber after a while when heating I decided to use small amounts which can be quite tricky so rather than use the whole melt pot I used small foil pie trays with different amounts of ink in each


It didn't take too long for the UTEE to begin to melt


and it was easy to top up and dilute the deep blue

I used a range of silver bezels to create some great shapes


Once cooled the UTEE will easily pop out of the bezel which can be used again
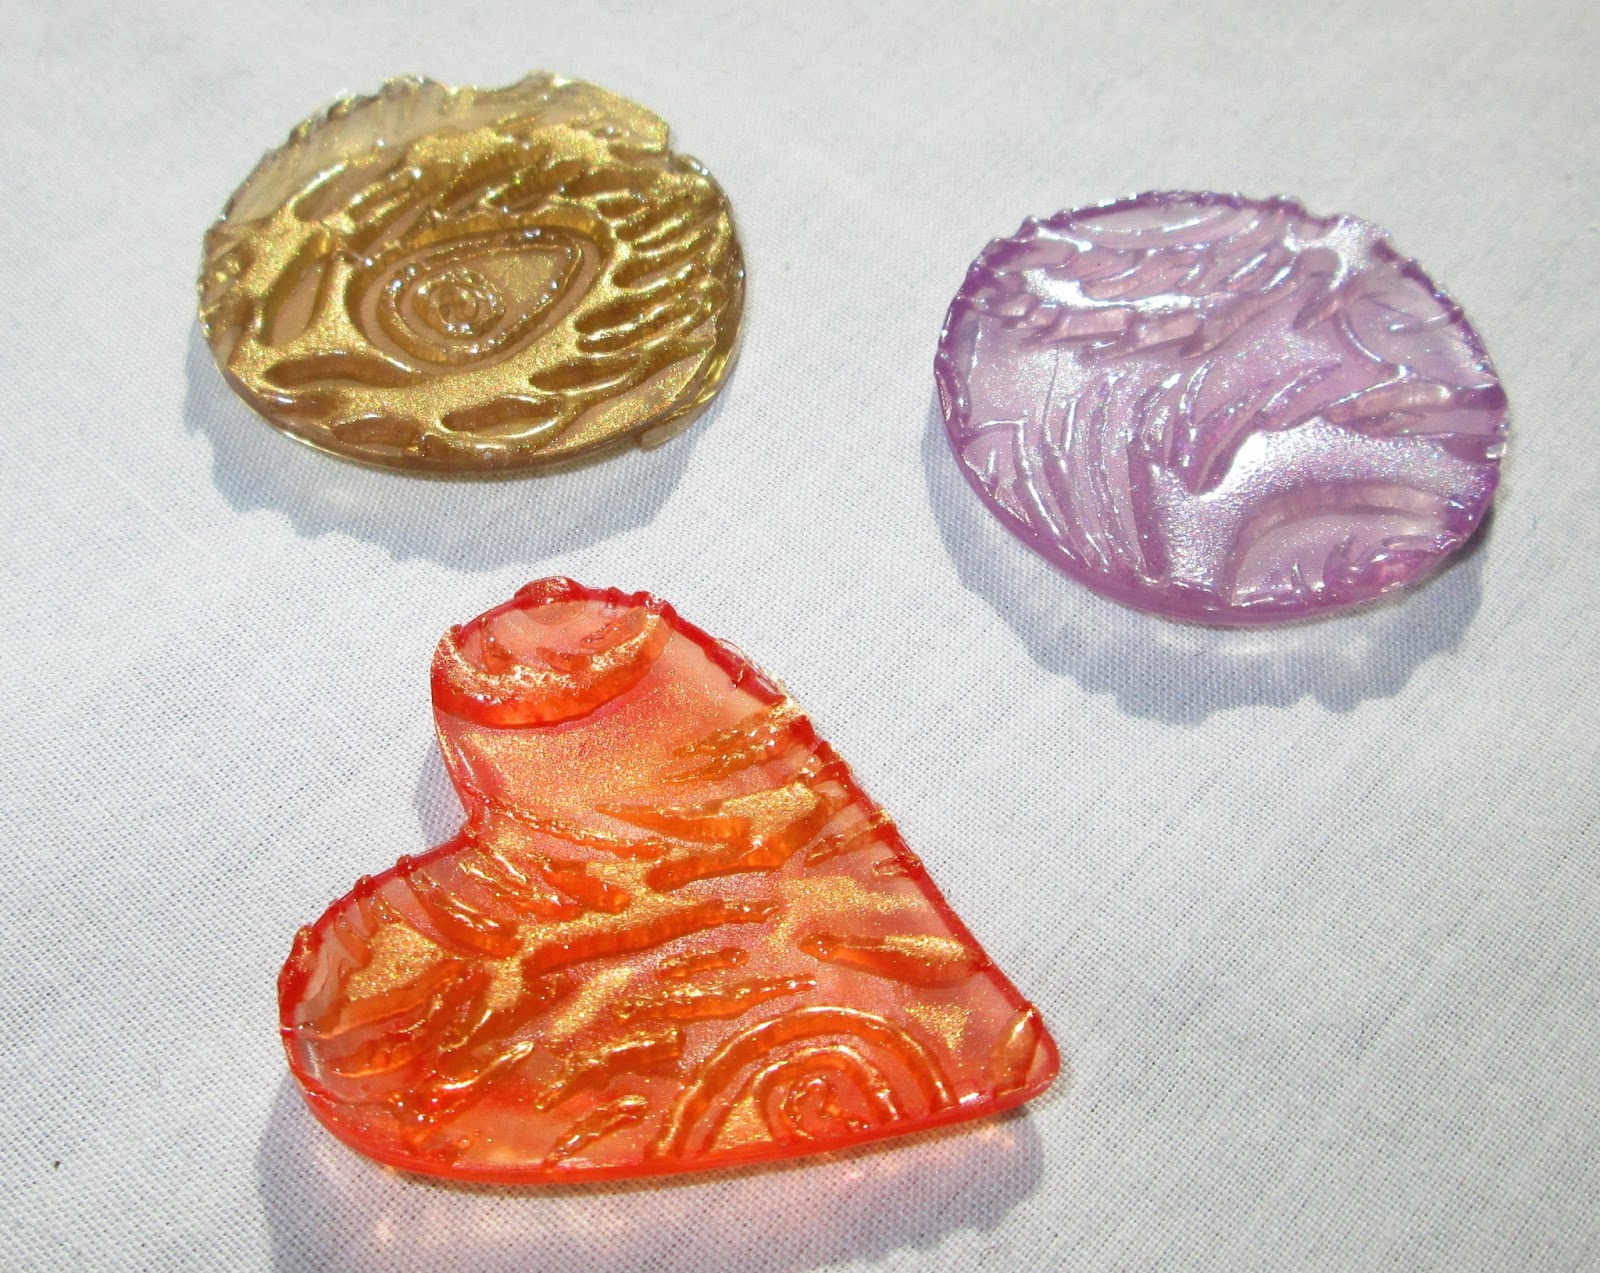
this one is made in the large hearts bezel with a portion of texture added while still warm


I also poured onto texture mats and cut some discs for pendants

I then created a bright fuchsia pink


and a deep ruby red


Using the pie trays meant I could make very small amounts of colour and indulge in some colour mixing


Once everything was set I used gilding wax to highlight the textures


I am very happy with  these results.
The discs will be made into pendants on seed bead threading and the other shapes will have bails glued on.
watch this space for the results


Monday, 29 April 2013

More subtle shades of Jewel Enamel UTEE

I have had the melt pot out quite a bit recently experimenting with paler colours with a transparent or translucent finish.
I created some simple shapes and wanted to make them into something. I have created some buttons using a soldering iron to melt the holes although as yet all my experiments have not really done justice to the UTEE so I have done lots of taking part in the last week. You can't drill UTEE it is far too brittle so either melt a hole or glue on a bail unless you are a wireworker and you could wrap a piece.
I have also unearthed my seedbead spinner which I really enjoy using. I adore the range of colours seed beads come in and have been using them to thread onto rather than using a chain.
Today I had to be up very early and the light was great so I finished off the seedbead work and took some photos.
Copper feather pendant
this was created using clear in the melt pot and then a small amount of copper added
the mix was poured onto a texture tread and cut out
a mix of amber toned seedbeads completes the look

subtle shimmer purple puffy heart
this is a dusky mauve with a very subtle shimmer which gives an inner shiller type effect

Lilac feather texture pendant
again this is a texture pour finished with  double row of white, clear and lilac seed beads

the original faux sea glass pendant
this is the one that started my experiments.

These pieces are so lightweight they are perfect for summer jewellery

Thursday, 18 April 2013

Faux Sea Glass Update

I have finished the large UTEE sea glass disc - finally deciding to make it into a pendant with sea beads and Tibetan style findings. I really like this subtle effect so will be looking for more ideas to use the technique


I have attached a large bail and used a mix of white, clear, silver and just a few
 deep green seed beads in three strands which I have gently twisted.

Monday, 15 April 2013

UTEE Jewel enamel tutorial - faux sea glass and more

I love the bright opaque colours that working with UTEE jewel enamel produces.
I like the swirls and mixes that you can get when you pour a mix of colours
BUT
I hadn't tried transparent colours and my one foray into pastels ended in disaster - the pink looked like body parts!!
So after being inspired by a picture in Pinterest of faux sea glass I thought I would do some experimenting.

I started with a melt pot of clear and added a tiny amount of Crafty Notions blue sapphire then gently stirred until it was all combined.
The colour was quite ethereal.
I have recently bought some Ranger texture treads so poured the melted UTEE onto a swirly part of the texture mat and then used a cutter to press down. I left it to set for about 3 or 4 minutes.
Once set but still warm I eased to excess off the cutter and gently prised the circle out of the mould.
The result was quite impressive
faux sea glass circe apporx 40mm diam.

The disc is very pale sea green and looks very much like sea glass. An extremely gentle heat polish brought out the gloss in the raised parts and emphasised the matte on the impressed parts. 

My next experiment was to re-melt the waste and make some more shapes.
faux sea glass shapes


as you can see the colour is darkening and becoming tinged with the amber that UTEE clear turns after quite a short time when heated.

I didn't want the yellow/amber tinge so thought about how could I melt just a small amount. The melt pot needs quite a bit so I improvised with disposable mini metal pie tins.
I added the clear powder to the pie tin and put it into the melt pot. It melted quite quickly and then I added a small amount of purple then poured onto a texture mat.
I had only made about 2 tablespoons of mix which was just enough for a disc.
I kept the waste for re-melting
I then did the same method for a red/coral colour and a copper colour. Once could I added  a little mica powder to accent the impressions
translucnet shapes approx 30mm diam

the result is subtle and very different from my usual pieces.
I had a small amount of the excess from each piece left and wondered how well it would re-melt.
I tried the lilac colour first and poured two of my tiny charm moulds which gave me an idea.
I used the remaining coral which had begun to go quite orange, then created a rich red followed by a deep blue-green and a bright yellow.

All colours were on a clear base so quite translucent and jewel like.
Once set I heat glossed them and added them to a charm bracelet


they look almost like sweeties


Thursday, 4 April 2013

Pink Bead Soup

A couple of weeks ago I bought a mixed scoop of glass beads from a friend. The colour was lovely and after a play with them, sorting and mixing again....any jewellery maker will recognise that experience... eventually I began to think about how to use them.

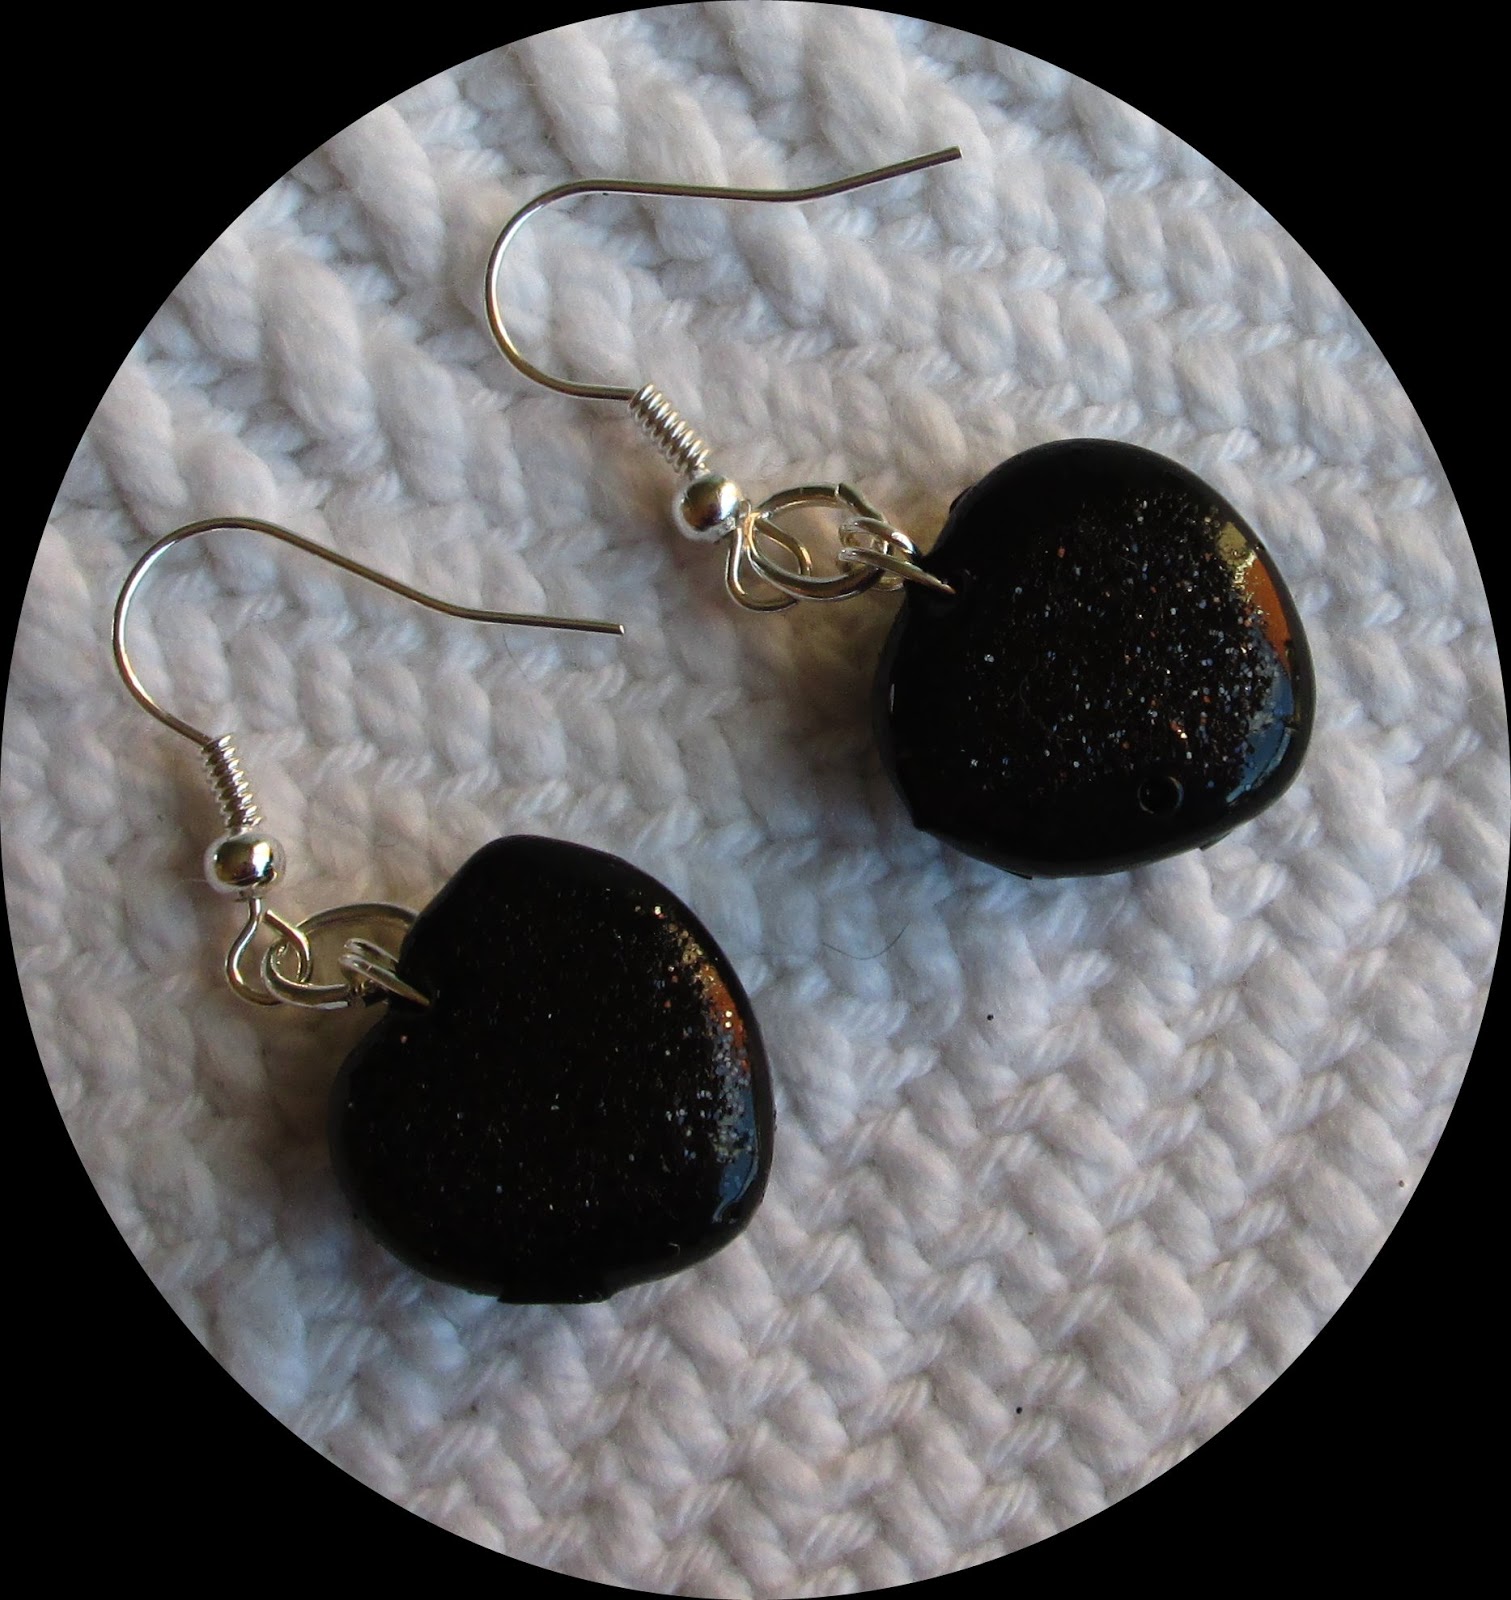
I had made a mould for using with UTEE, small hearts which would be super as charms. So I mixed up a batch of glossy black and poured a set of black hearts which I then embellished with black glitter. There was enough left over to pour a heart pendant too.

I made a simple two by one chain for a charm bracelet and then went on a hunt for headpins with a fancy end for the extra large holes in some of the beads. A quick trip to Purple Butterfly Crafts in Hawarden fixed me up with some black vintage looking headpins. Then I began to create the bracelet...a real joy....the only problem was choosing from all the beads.


Once the bracelet was completed I turned my thoughts to a necklace.
I wanted to make a focal charm portion using three large twisted ovals but didn't want it to be too heavy so experimented with a partial charm section on wire...didn't like that effect at all...on beading thread...nope.....on chain......hmmmmm close but not quite what I was after. Eventually I settled on seed beads, a double row which would be good and strong to hold the charm portion.
A powerful magnetic clasp with a couple of pink mystic beads finished it off.


Finally a couple of pairs of earrings... black for a chic look and white glass hearts for a lighter daytime look.


Am pleased with this result...a bit of a departure for me.

Wednesday, 13 March 2013

Jewel Enamel UTEE tutorial

I have been asked many times how to make a link, loop or bail for a jewel enamel UTEE charm or pendant.
Head pins or eye pins work well to embed into the newly poured enamel.
You need to work quickly to place the pin and hold it in place for a few seconds until it is firm.
this faux amber butterfly has a head pin embedded in the back

Many of us have silver plated and cheaper  findings - this is a good use for them.
here you can see a rolled down head pin waiting to be neatened


this is the back of a face mould that was heated with the gun and then had an eye pin added
to the soft enamel relatively successfully


the back of a shell mould witha rolled down head pin ready to attach
heart charm with jump ring attached

Once you have embedded an eye or headpin into your poured piece you need to let it set properly and then it will be ready to attach a jump ring to make a charm for a bracelet or a pendant bail,

Some times you may not want to embed but actually create a hole.
This needs to be done while the enamel is still warm and soft but set enough to manipulate
I use a bradawl but anything that is sharp and pointed will work. Use a board underneath and try not to mark the surface of the piece. Any marks can be removed by heat glossing with the gun
Don't leave it too long - UTEE goes very brittle

holes made with bradawl while still slightly soft


A little update for you. Since writing this almost two years ago I have developed a better way to make a hole. I use an old soldering iron of my hubby's and melt my holes which gives me the ability to have smaller or larger holes and I can do it days after pouring.

hole made by melting with soldering iron

Sunday, 10 February 2013

Added Bling!

I have a Facebook friend, Michele, who shares my jewellery making passion and loves experimenting with alternative media.
Together we have been working with jewel enamel UTEE and trying to push the boundaries of our skill and experience.
Last week Michele began to add craft glitter to her pieces with amazing results.
Craft glitter is not the classroom stuff of Christmas cards - it is very fine, made from a lightweight iridescent polymer that often changes colour with heat. This makes is easy to use with jewel enamel but as you will know if you have used UTEE the temperature is very hot ( 140C) which can distort the particles causing them to clump.
Following Michele's experimenting I had to try some myself so armed with mini taster pots of  lovely colours I spent a Saturday morning experimenting.

As Valentine's day is looming I thought I would try a red puffy heart with red glitter added to the pan - disaster - it was obviously too hot and just formed a gunge clump!
Next I decided to use a white powder that already has glitter in it so added a swirl - disaster - the white was so opaque that it over powered the red and made a sickly pink with very little glitter showing.
Romance be blowed!  By the way nothing is wasted - all scrap can be recycled!

I cleaned out the pot and chose blue - deciding to add a small sprinkle of glitter to the mould rather than the pot. This time success!

this lovely puffy heart has two colours of glitter-a blue and iridescent white
I have added a brooch pin to the back deciding to leave the simplicity of the heart

Next I went for spring colours and chose a light turquoise with peridot green, lightly swirling the two together so that they didn't mix but marbled. Again I added the glitter to the mould

this face mould reminds me of the Easter island statues


the puffy heart with green glitter added to one side

I still had some melted enamel in the pot so used a silver bezel to pour into

this time as I heat polished the surface I added a small amount of green glitter to the soft enamel

To finish my session I used a new colour Apatite Green which is probably more sludge green with dark gold undertones. So I decided to make a heart charm bracelet with gold findings.
I wanted to grade the colour from green to gold so after pouring two hearts I added a small amount of clear and let it begin to turn amber then poured again. The next pour I added a little gold which really began to alter the colour and then for the final pour it was almost all gold.
At the mid point of the colour transition I dipped a pair of earrings and with the final colour I poured a simple circle to be made into a brooch

I think this type of glossy finish simple jewellery is  my style.
Working on a piece like this gives me great satisfaction.